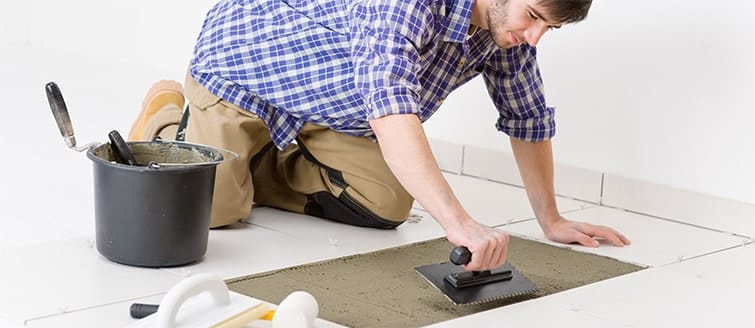
Whether your tiles are on the wall or the floor, the techniques for replacing damaged ceramic tiles are the same. Here are some tips on how to replace a damaged tile safely.
Remember to always wear gloves and safety goggles for protection when removing a damaged tile.
Step One – How To Replace And Remove A Damaged Tile
Firstly, you will need to clean out the old grout from the joints surrounding the damaged tile with a chisel or grout removing tool.
Step Two
Once the grout is removed, remove the old tile. This is often best done by prying the tile off the wall with a chisel and hammer. Remember, once the tile is removed, clean the surface to clear any debris.
Step Three
Afterward, use an adhesive trowel to apply the adhesive to the wall or floor and to the back of the new tile. Keep the adhesive approximately half to one centimetre away from the edges of the tile when applying it to the back.
Step Four
Take the new tile and press it into the centre of the space where the old tile has been removed. Make sure the surface is flush and even by gently pressing it down. This could cause some adhesive to ooze up around the joints. Immediately clean up any excess. Next, secure the tile in place with masking tape and allow the glue to cure and dry completely. Make sure you check the recommended setting time for your adhesive.
Step Five – The Last Step Of Remove A Damaged Tile
Once the adhesive has properly set, remove the masking tape and dampen the joints. Next, apply grout with a grout float. Before the grout sets, remove any excess grout on the surface of the tiles with a wet sponge.
Need more great advice about how to remove a damaged tile? Visit Tile Factory Outlet. We have friendly and knowledgeable staff on hand ready to help you. Additionally, Tile Factory Outlet has a great range of quality tiles at amazingly low prices. TFO also has all the leading brands at outlet prices. Visit us in our Sydney showroom or compare and buy tiles from our online store.


