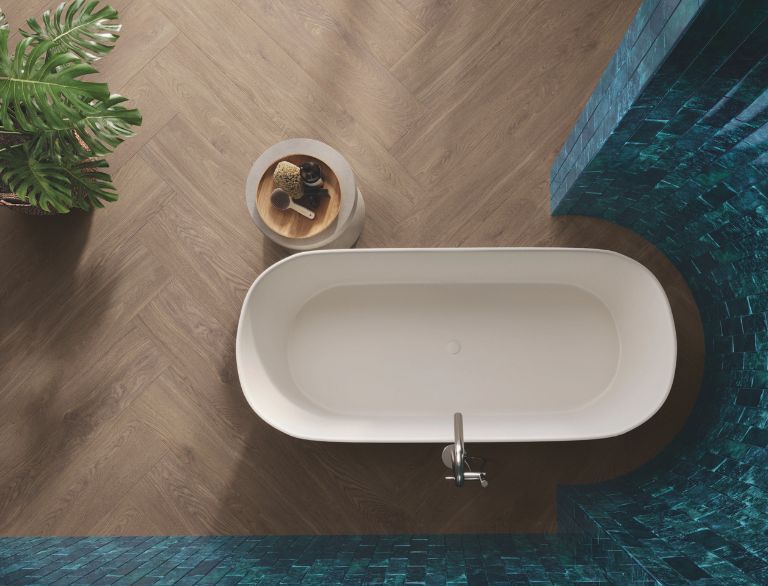
Your Dream Bathroom Starts with the Right Tiles
Great tiling starts with great tiles.
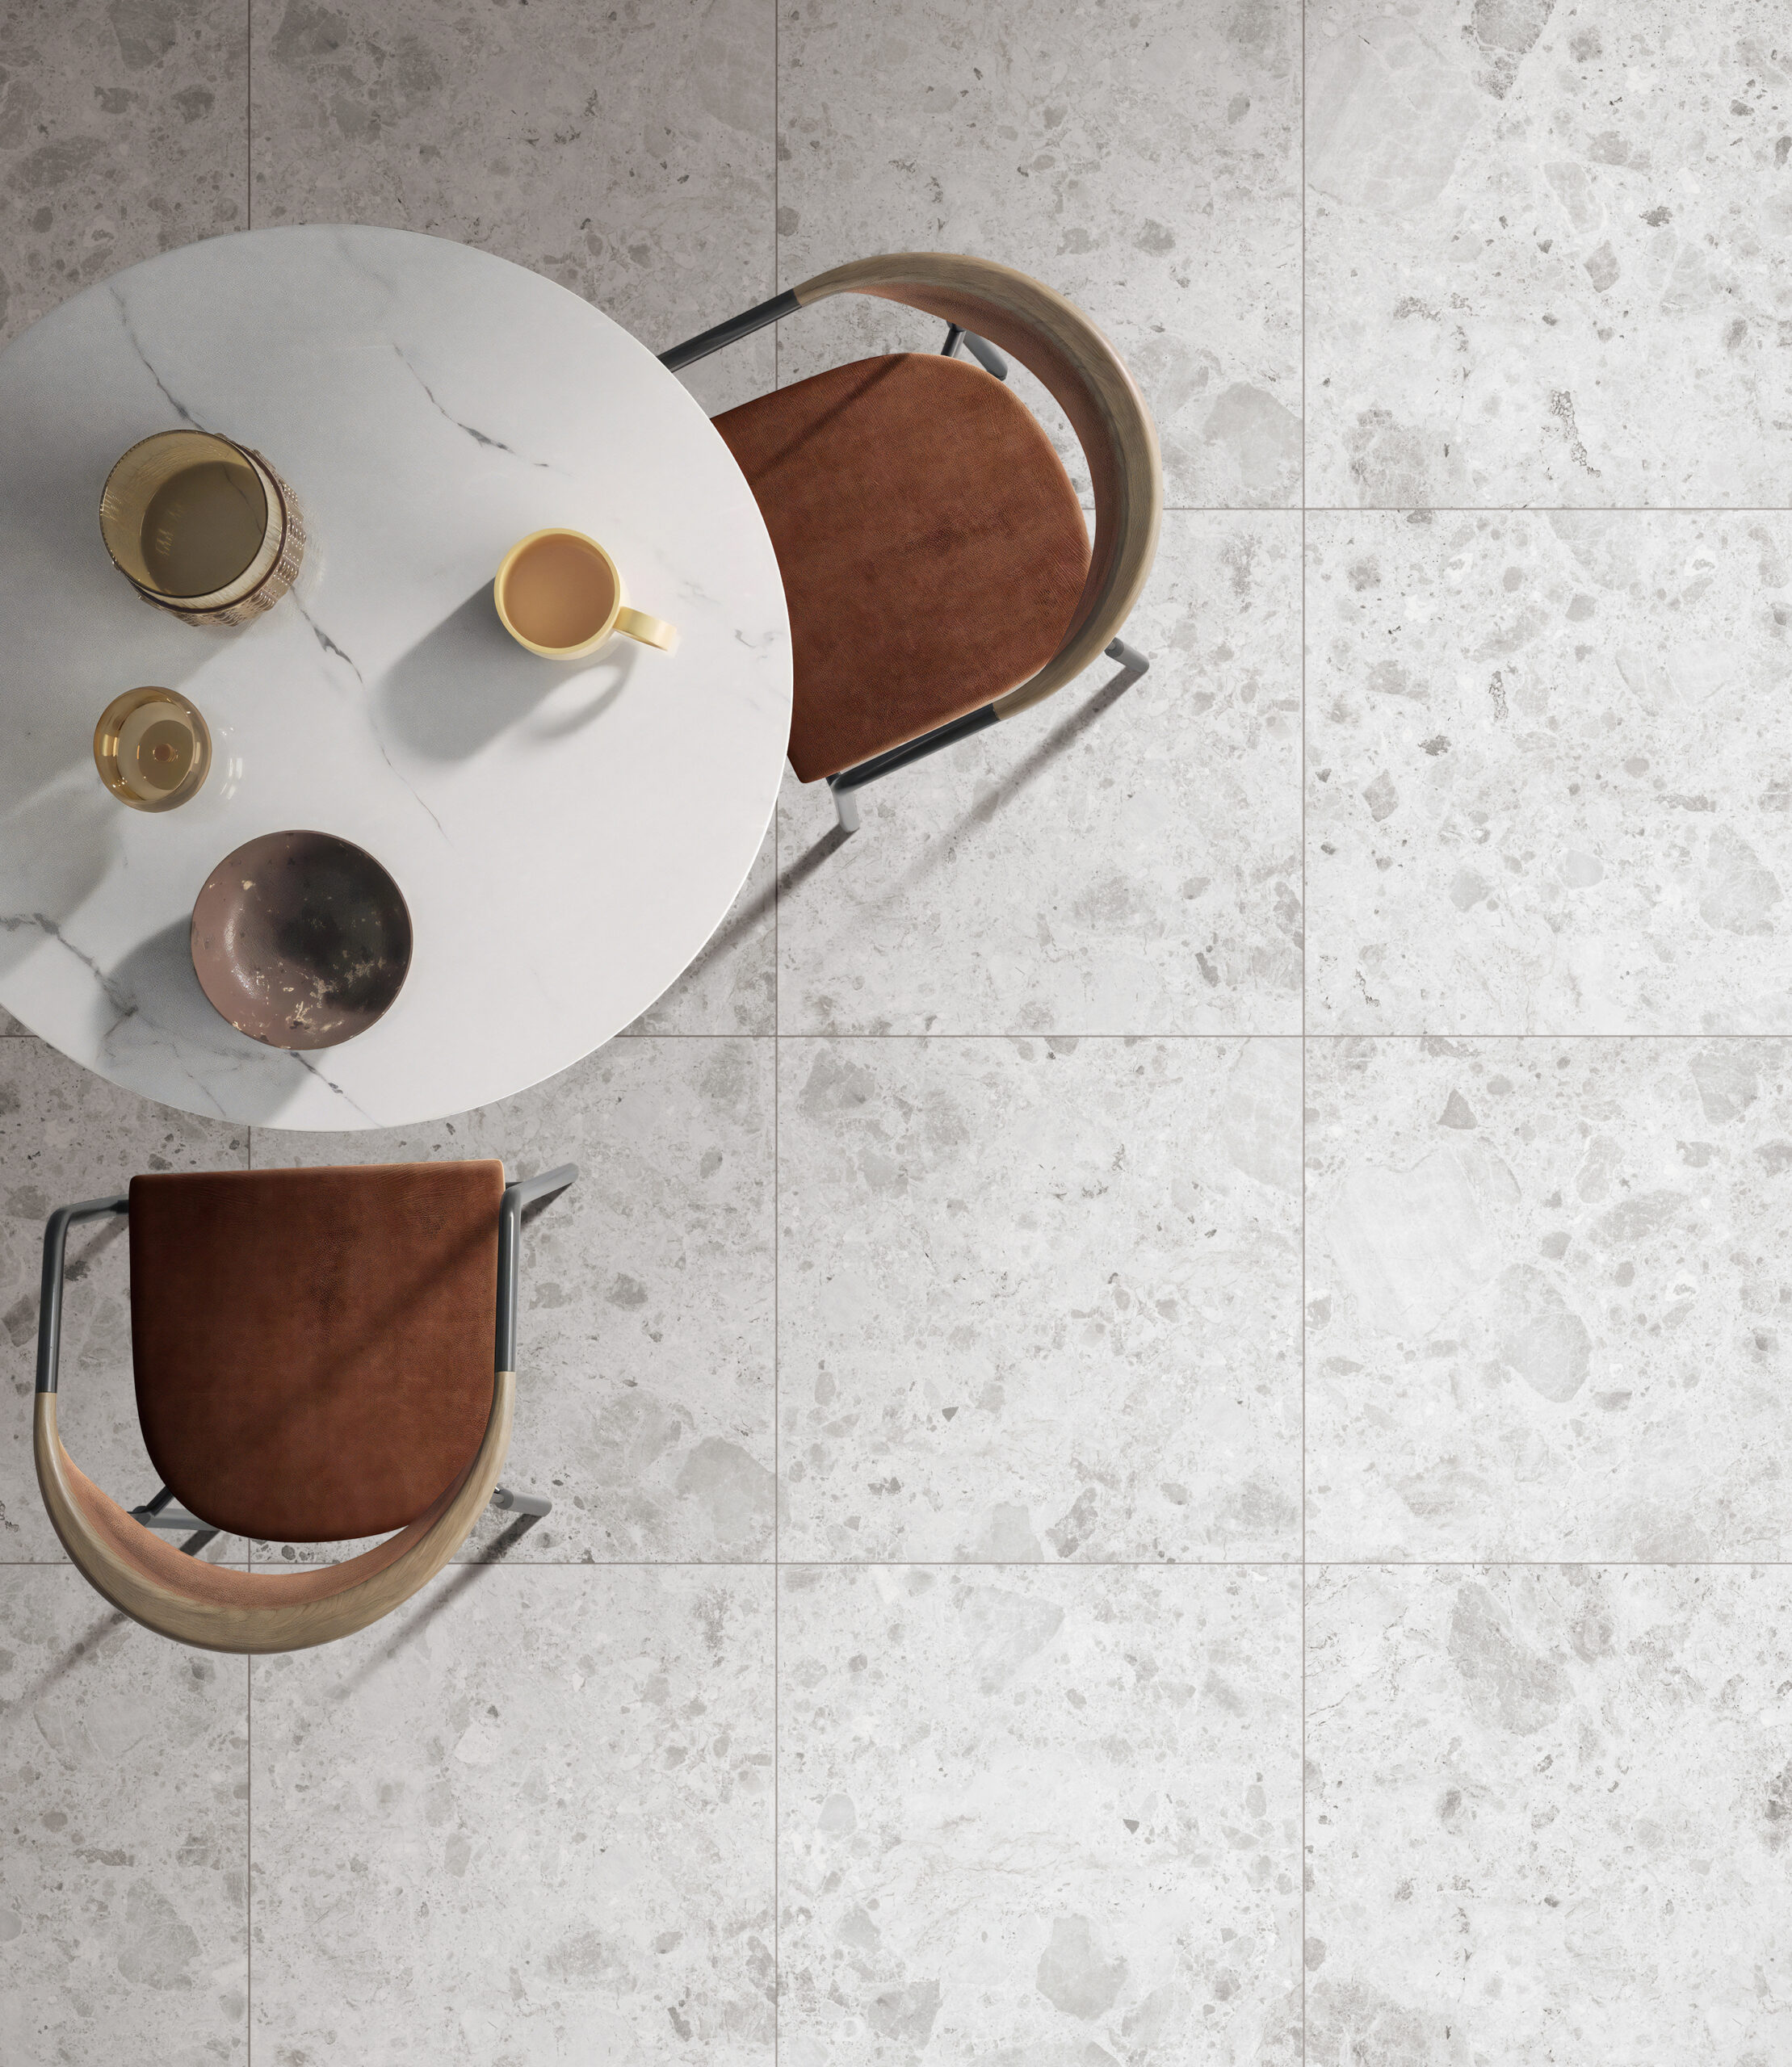
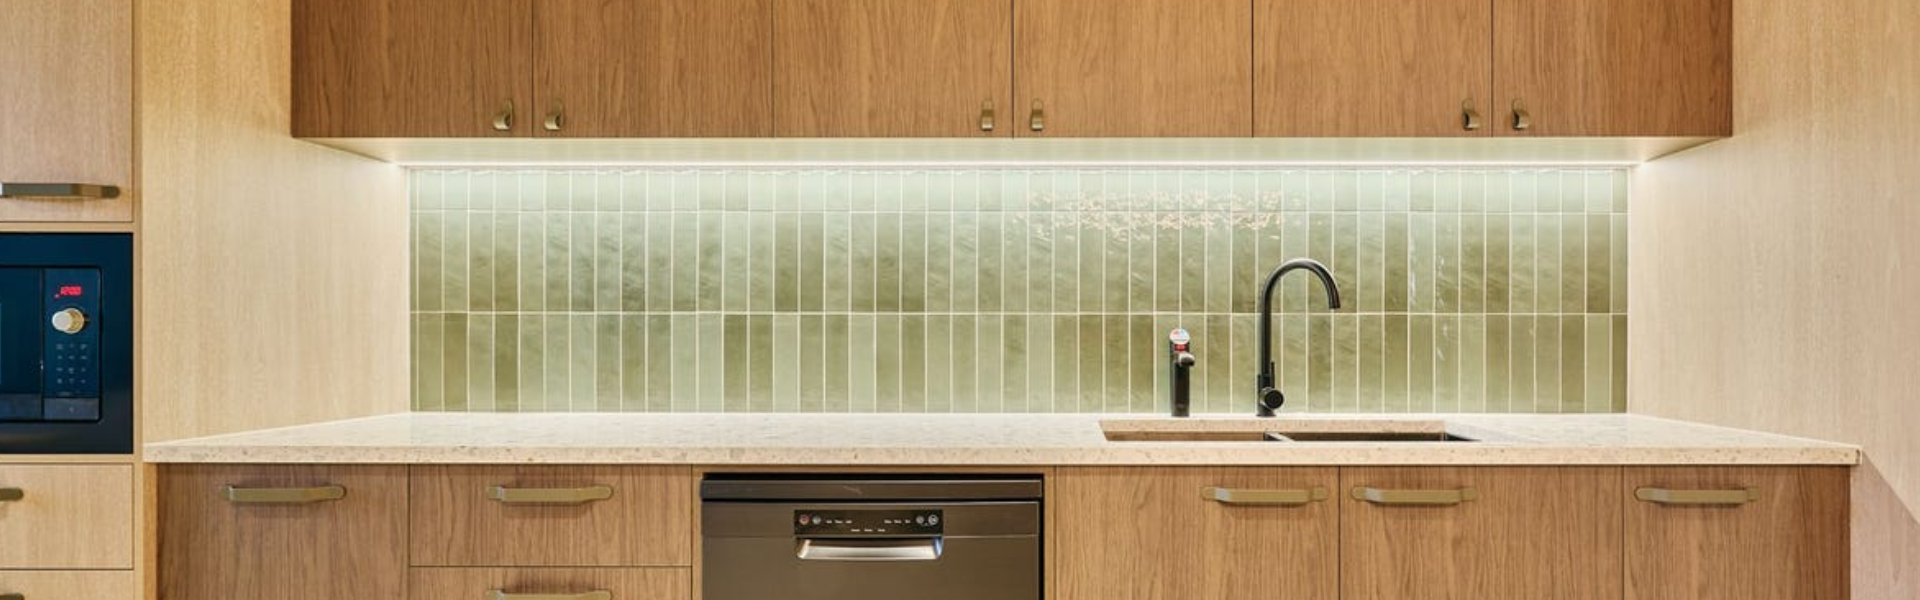
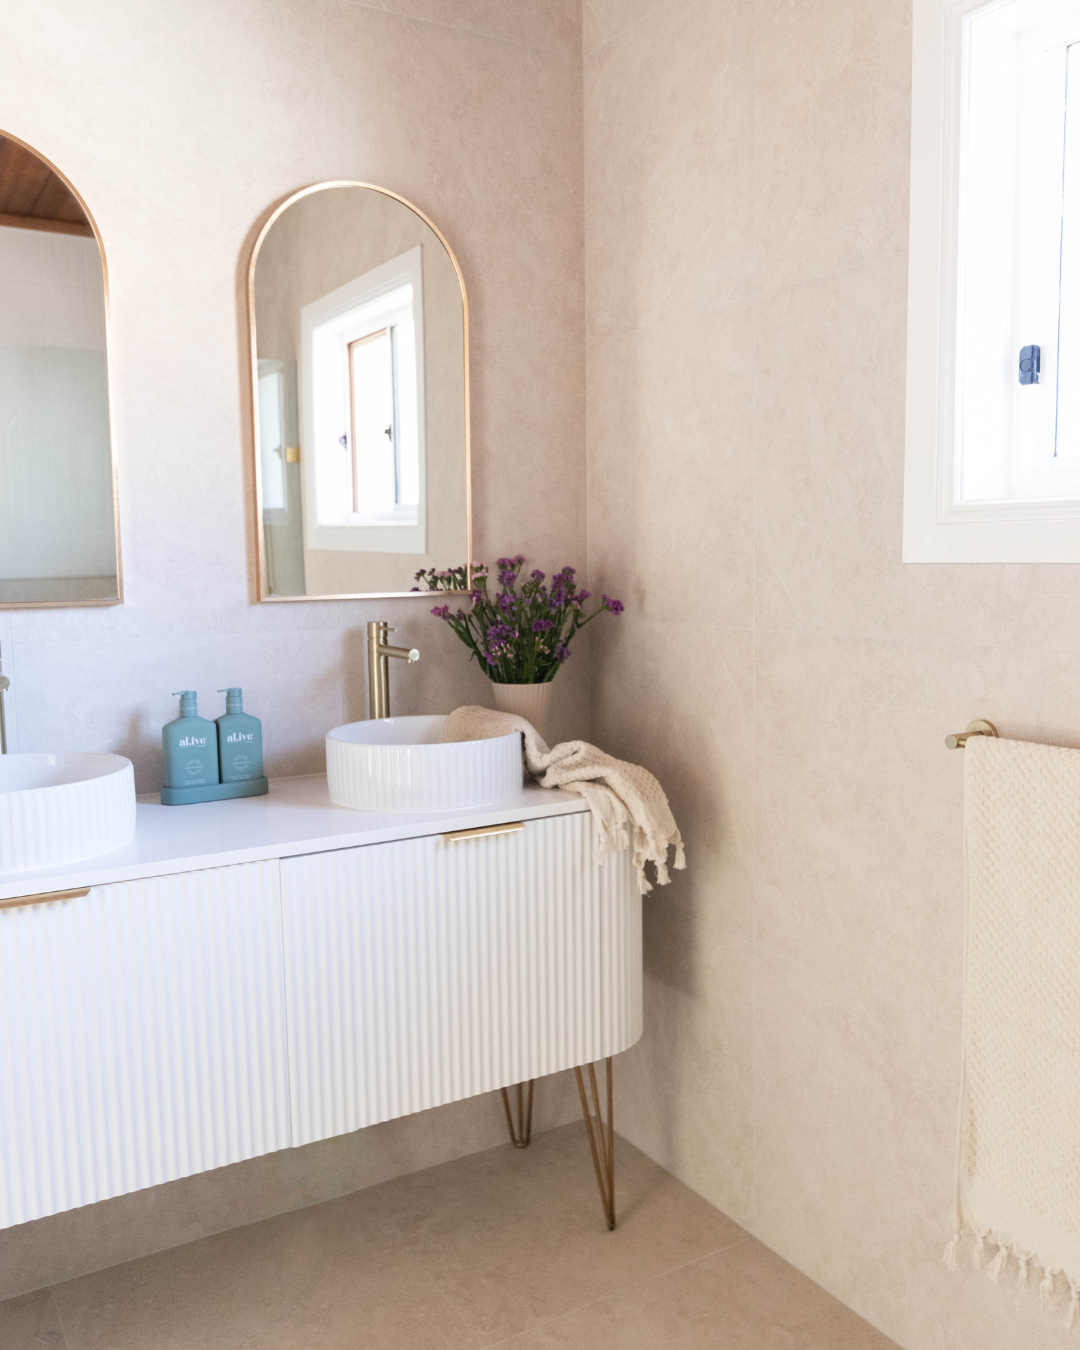
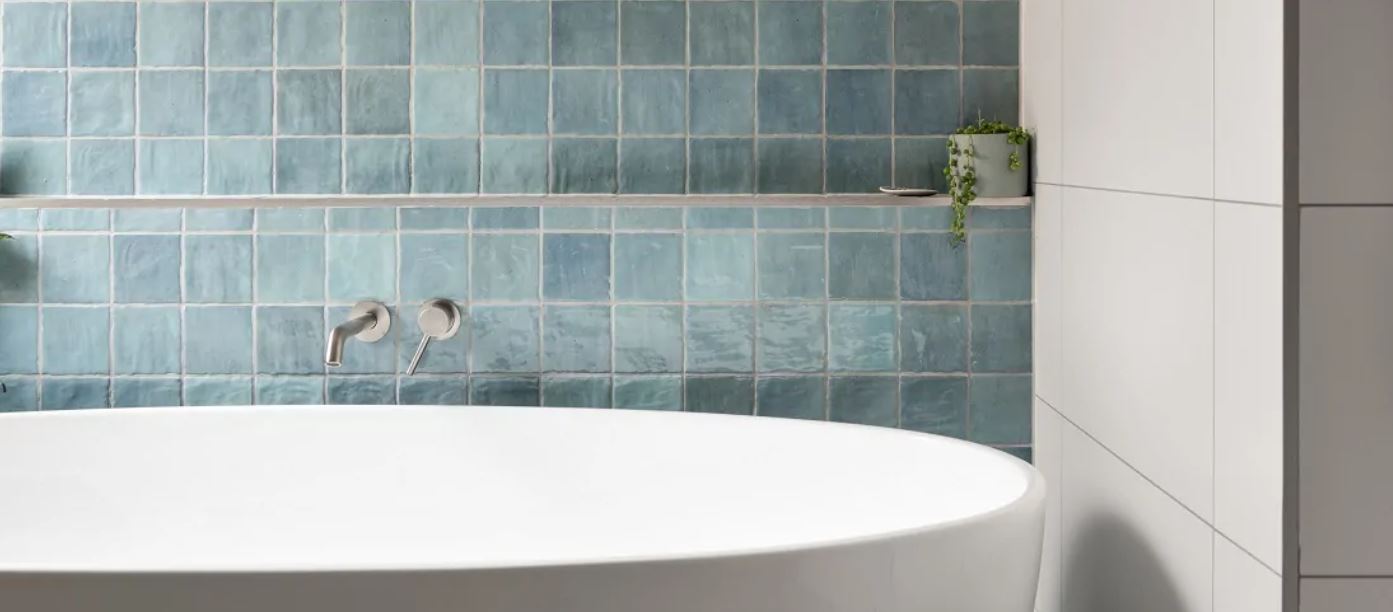
We offer a curated collection of bathroom floor and wall tiles handpicked for both style and durability. Whether you’re after a soft neutral look, bold textures, or something timeless, we’ve got options to suit every space.
Explore our collection of bathroom tiles or visit our store in Sydney and get expert guidance from our sales team. We’ll help you choose tiles that match your layout, lighting, and style goals.
How to Tile a Bathroom FAQs
Where do you start tiling in a bathroom?
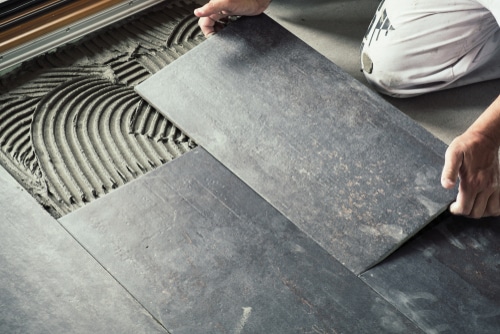
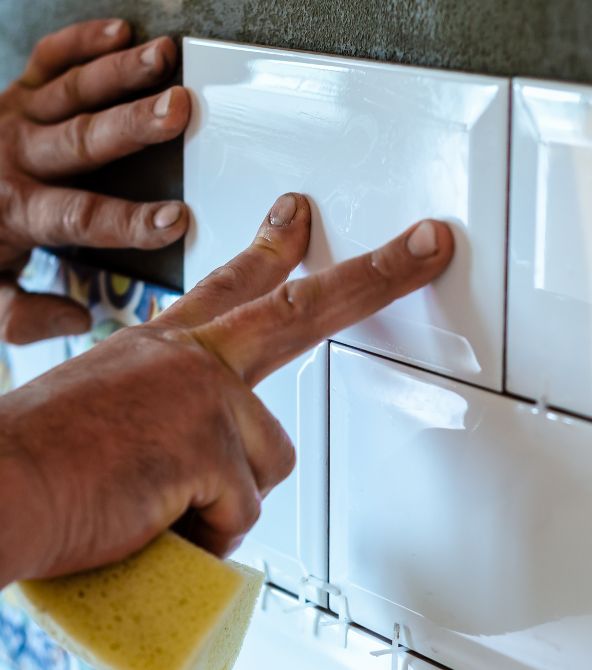
Start tiling from the centre of the floor and work your way outwards. This gives you a balanced layout and helps avoid small cuts at the edges. On bathroom walls, it’s best to begin from the second row up, then do the first row and bottom row last.
What do you put under bathroom tiles?
Tiles need a clean, flat, and stable surface. Use cement sheeting or a tile underlay on walls, and a self-levelling compound on uneven floors. Always apply a waterproofing membrane in wet areas before tiling.
After laying bathroom tiles, make sure you know how to keep them spotless with our complete guide to cleaning bathroom tiles.
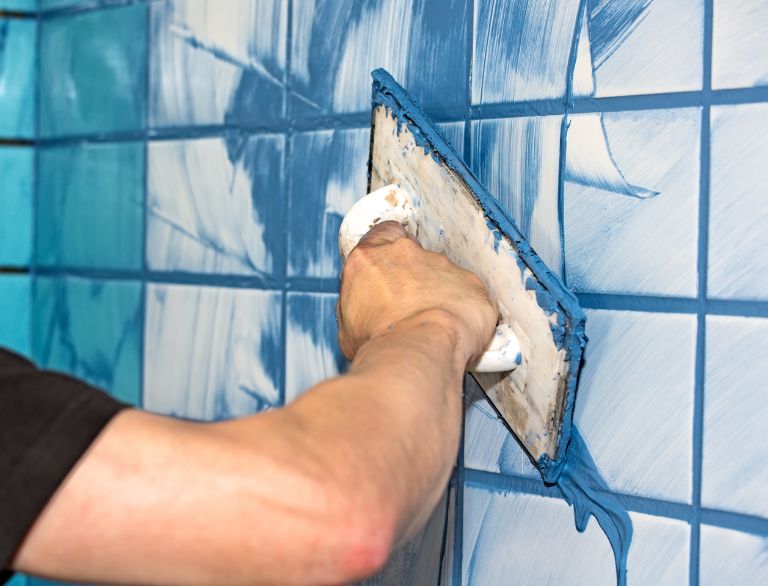
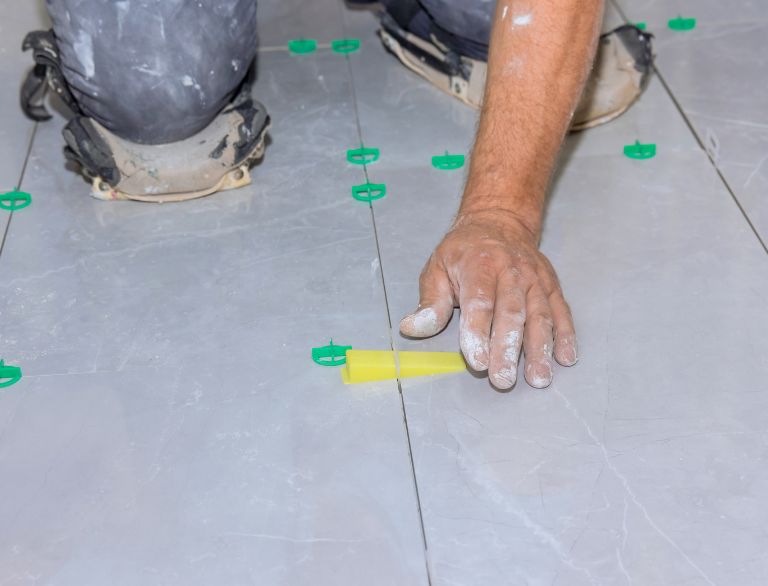
What gap do you leave between tiles?
Most tiles need a 2–3mm gap for grout. If you’re using larger or rectified tiles, the gap can be as small as 1.5mm. Always use tile spacers to keep it consistent and ensure grout lines at per Australian Standard.
What is the 3 4 5 rule for tiling?
The 3-4-5 rule helps you check that your layout is square. Measure 3 units along one line, 4 on the other, and the diagonal between them should be exactly 5. It’s a quick way to make sure your tiles won’t run crooked.
What is the 1/3 rule for tile?
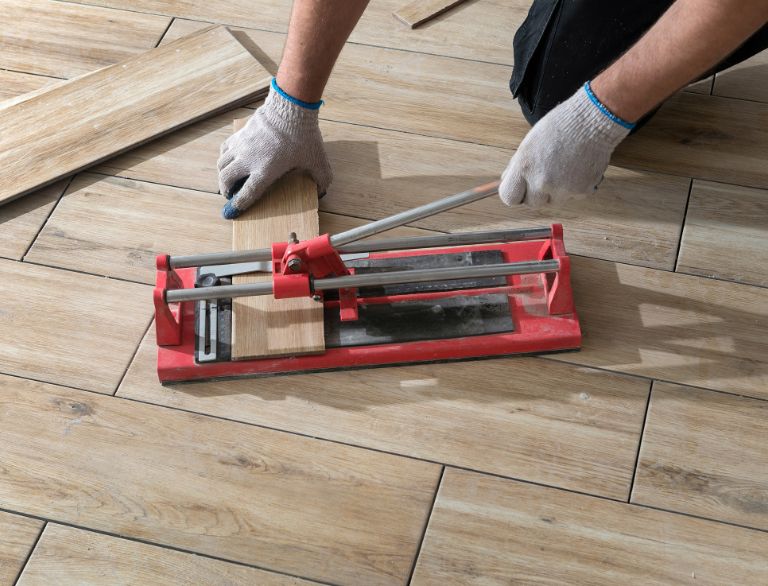
The 1/3 rule is used when laying rectangular tiles like wood-look tiles. Instead of a 50% brick pattern, which can cause lippage, offset each row by one-third of the tile’s length for a flatter, cleaner finish.
Should the shower tile be horizontal or vertical?
Both work. It depends on the look you’re after. Horizontal tiles make the space feel wider, while vertical tiles draw the eye up and can make the room feel taller. Choose what suits your style and bathroom layout.
Is it easy to tile a bathroom for beginners?
Tiling a bathroom is doable for beginners if the space is simple and you follow each step carefully. It takes time and patience, especially with cutting and waterproofing. Start small if it’s your first time.
How much to tile a bathroom in Australia?
Tiling a bathroom in Australia typically costs $2,000 to $5,000, depending on size, tile choice, and job complexity. This includes materials and labour, with tilers charging approximately $50–$100 per square metre. Extra costs may apply for waterproofing, wall repairs, or tile removal.
Wondering how much a bathroom renovation costs? Check out our blog post for a full breakdown of costs.
Can you lay tile and grout on the same day?
It’s not recommended. The tile adhesive needs time to set for about a few hours (ideally 24 hours). Grouting too early can move the tiles or cause problems later, so it’s best to wait.