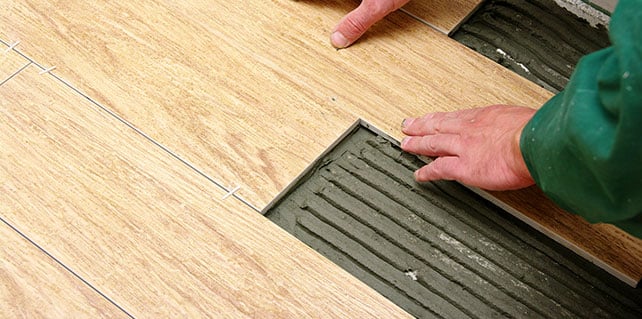
Installing tile in your home is considered a wise investment in that it ups the resale value of your property. If you are planning on a DIY job, here are a few pointers of tile installation that can help you achieve excellent results from your project.

Snap To It

Before you begin tile installation, you’ll need to set some clear boundaries and mark out your tile pattern.

Start by obtaining a snap line. Then identify the longest wall in the room. With your measuring tape, you’ll want to measure to the center of that wall, then from that point measure directly across to the wall it faces. Take your snap line and drag across to the other wall. Your floor should now be divided in half. To mark this area, snap the line. This will leave a chalk line on the floor.

Now repeat this process for the other two walls of the room to create an intersecting line which divides the room into four equally sized part.

Find Your Center Before Tile Installation

At this point, your intersecting lines should resemble a large plus symbol providing four corners, two below and two above. When you begin tile installation, work from the center of this plus symbol. Lay your tiles in these corners and work your way out. Why? This will maximize the number of whole tiles you use and minimize the need to cut tiles for edges.

Make sure you have measurement tools such as tile spacers to make sure you get a consistent distance between tiles.

When applying adhesive, do not do the whole area at once. Rather, apply it in sections. That way the adhesive doesn’t dry out before you have had a chance to lay your tiles.

A Word About Tile Patterns

Many find it worthwhile to draw up a plan in advance to try to visualize what the end result will look like. This allows you to experiment with different patterns to see which best suits your room. For smaller installations, some even cut up bits of cardboard to the desired size and see how the tiles can be laid out. Since tiles are cemented to the floor rather than duck taped, pulling them up and resituating them would not be possible. Therefore, thorough advance preparation and a clear vision is necessary.

Tools Of The Trade

By default, a high quality tile installation job requires good quality tools. For example, levelling tools reduce lippage and trip hazards. Cutting tools will help you get beautifully cut edging tiles. Investing in such tools will get you optimum results.