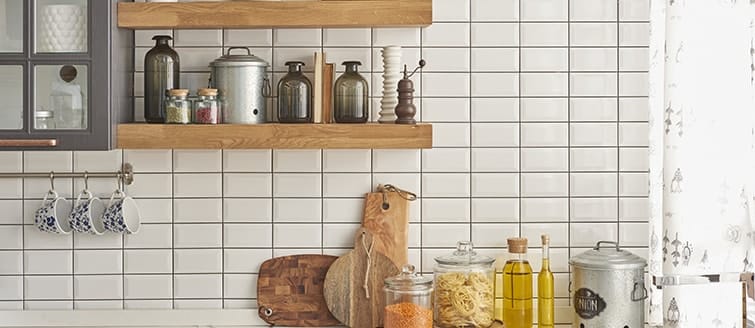
Do you feel that your kitchen could do with a fresh start? How to tile your kitchen splashback correctly? There are many ways to freshen up your kitchen without overhauling your whole kitchen. One of the most effective ways is to change your kitchen splashback by newly installing beautiful mosaics. With so many variations to choose from, you’ll definitely find mosaics you love.

But what about the installation? Why not do it yourself? Installing mosaics on your kitchen splashback can be surprisingly easy if you have the right tools and follow the right steps.

1. How To Tile Your Kitchen Splashback – Tools And Materials You Need

  • 6mm notched trowel
  • 1.5mm or 3mm spacers
  • A rubber grout float
  • A grout sponge
  • A bucket
  • Davco Primex
  • K10 Plus Waterproof
  • Sanitized Colour grout of your choice
  • Davco Glass Mosaic

2. Remove Existing Tiles

If you have existing tiles, it’s best to remove them first before installing new mosaics. How to remove tiles If you choose to lay new tiles over the existing tiles, we recommend applying Davco Ultrabond over the existing tiles first.

3. Surface Preparation

For any tiling project, surface preparation is critically important. Without the proper surface preparation, you may encounter problems such as water leakage and lifting tiles. Follow the steps below:

  • Make sure that the surface is free of any dust that could prevent the glue from adhering to the wall.
  • Prime the surface using Davco Primex
  • Waterproof the wall with Davco K10 Plus. Apply 2 coats for effective waterproofing
  • Make sure that kitchen bench tops and appliances are covered.

4. How To Tile Your Kitchen Splashback – Installation

  • For a mosaic tile adhesive, we recommend the combination of Davco Sanitized Colour Grout and Glass Mosaic additive. The Glass Mosaic additive turns the grout into an adhesive. It basically cuts 2 processes into just one.
  • Apply the glue horizontally with a 6mm notched trowel.
  • Start installing from one of the bottom corners and work your way out. Lift up mosaics every now on then to make sure enough adhesive is applied.
  • To cut most mosaic pieces, use an angle grinder.
  • Press down each sheet with a grout float to make sure that all pieces are installed flat against the wall.
  • Before the glue starts drying, remove all excess glue.
  • Once all tiles are installed, use the left over glue to grout all remaining joints with a grout float. Use a circular motion to ensure that grout is applied deep in the joints.
  • Wipe off all excess grout on the mosaics which may appear like a thin film. Wipe using a well squeezed sponge repeatedly until the film is completely removed.
  • Finally, if your mosaics are made of a porous material such as travertine or marble, make sure to use SureSeal Grout & Tile Aerosol Sealer to protect your mosaics against staining and discolouring.
    This is all there is to it. Installing a new kitchen splashback with the mosaic tiles of your choice can turn a dull space into a stunning feature piece. Above all, mosaic tiles are priced incredibly low at TFO.

Visit Us Today

So why not freshen up your kitchen yourself? Our TFO staff will happily help you choose the right mosaic tiles that perfectly complement your kitchen space. Come and visit TFO and choose from the biggest range of mosaics in Sydney or buy mosaic tiles online now.