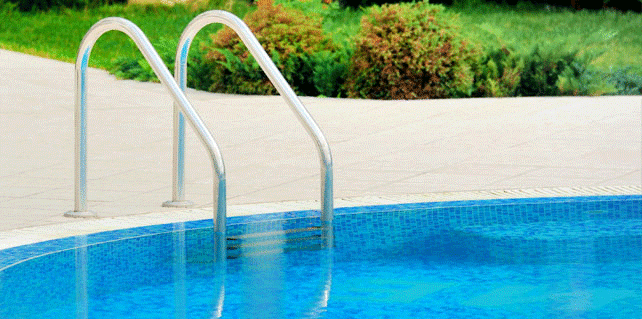
A pool can be a great addition to any home. Also, it will no doubt serve as the perfect backdrop to your entertainment area. But from time to time, we hear of pool tiles popping off. While it is a common occurrence, if you’re looking at repairing or installing a pool, here are some common reasons why pool mosaics pop-off. Learn how you can minimise this happening and know what to be mindful of when choosing pool mosaics. Below are great tips from us on how to tile a pool.

Tips For Tiling A Pool

Movement, which can be caused by changes in weather, is one of the reasons why pool tiles pop-off. As the weather cools down or warms up, the pool and its surrounding areas, including the earth, naturally contract and expand. While much can be done to the foundation and the installation of the pool to minimise movement, the major reason why pool tiles pop- off comes down to the type of mosaic sheets being used.

Dot Mounted Mosaics

Over the last five years, innovative changes to the assembling of pool mosaics have helped reduce this problem. The invention of dot mounted mosaics supersedes the most commonly used mesh backed mosaics. Mesh backed mosaics are where a series of small tiles are glued to a mesh sheet, allowing for a quick and easy installation. The glue holds the tiles onto the mesh sheet. However, over time it breaks down, freeing the tiles from their backing. As most of the adhesion takes place on the mesh and less on the tiles, they begin to pop-off. So, the greater surface exposure offered by dot mounted technology allows for increased adhesion to the back of the tile. This offers greater flexibility for a good tiler to manipulate the joints, bedding them really well into the adhesive.

Laying Dot Mounted Glass Mosaics

Laying dot mounted glass mosaics can be tricky. We always recommend using a qualified tradesman who has a lot of experience. This is because glass mosaics are normally half the thickness of normal tiles (normally around 5mm). When applying the tile adhesive on to the rendered wall of the pool using a 4mm-6mm notched trowel (depending on the size of the mosaic sheet), you will need to firmly press the tile into the glue and then apply your grout.

Most tilers and pool owners find that the glue pushes through the joints. This which proves difficult when grouting the joint lines as most times, uncleaned grey glue residue will push through. This then appears dirty or mouldy against the freshly applied grout. A simple and yet effective alternative is available. Thanks to some manufacturers, they have created a glass mosaic additive to combine with the grout essentially turning your grout into glue.

Use the two products, the glass mosaic additive and grout, to glue and grout your tiles. Always read the manufacturers instructions as to how to mix the two products together for each stage of your tile installation.

Visit TFO For All Your Tiling Needs

We hope this article helps you understand how to lay pool safe glass mosaics. TFO has a large range of dot mounted pool safe mosaics and we stock Australia’s most trusted range of tile adhesives and grout. Our advice is general in nature and we always recommend you refer to the manufacturer’s PDS and technical information/data fact sheets available online and on their product packaging.

Our helpful staff would love to talk more with you about this or any other tile related questions.