How to Clean Bathroom Tiles: A Step-by-step Guide

You’ve tried everything, but your bathroom tiles still won’t stay clean.

No matter how much you scrub, soap scum, mould, and cloudy streaks keep coming back.

It’s frustrating, time-consuming, and honestly, exhausting, especially when you’re doing everything you can and getting nowhere.

The truth is, it’s not about how hard you clean. It’s about how you clean.

Once you learn how to clean bathroom tiles properly, everything changes. With the right method, you’ll spend less time scrubbing and get far better results.

This guide shows you exactly what works: simple, effective techniques using products that actually get results.

Say goodbye to trial and error, and hello to clean, fresh tiles that stay looking their best.

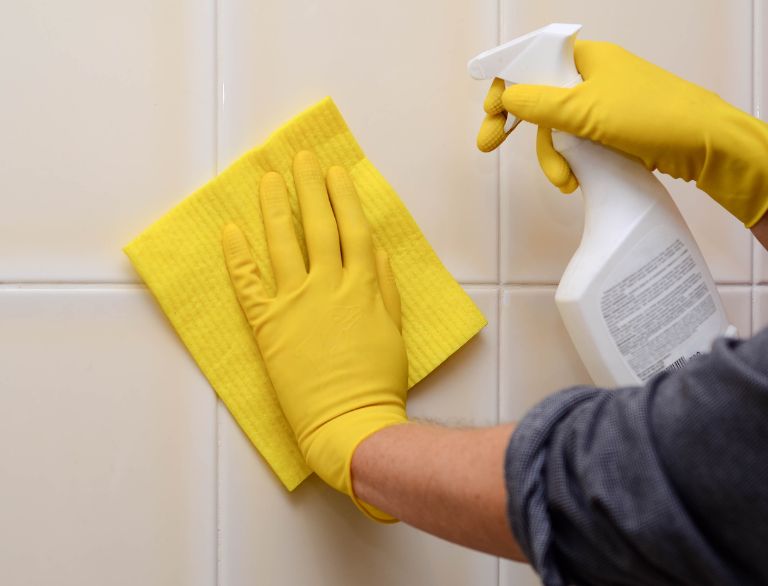
How To Clean Bathroom Tiles

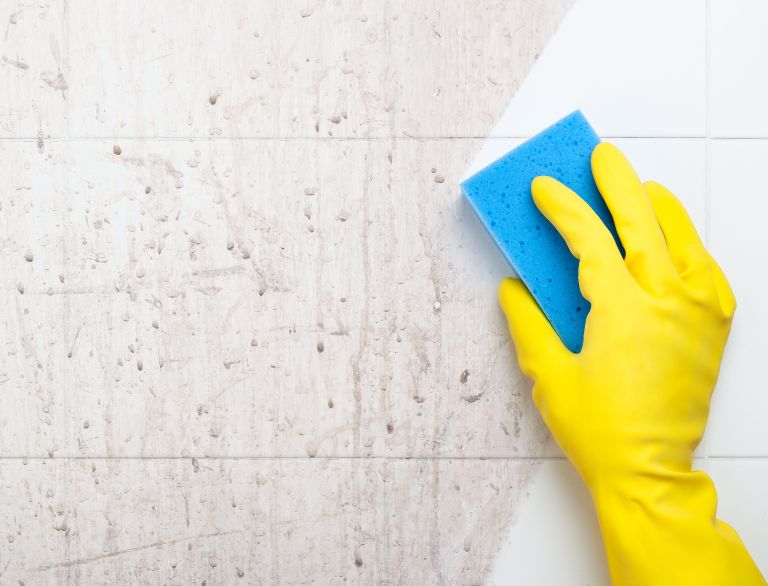
Why It’s Important to Clean Bathroom Tiles Regularly

Bathroom tiles are constantly exposed to moisture, dirt, grime, and heavy foot traffic, especially in wet areas like showers and around baths. Without regular care, grime quickly builds up not only on the surface but also deep within grout lines, where it’s harder to remove.

Over time, this build-up creates a perfect environment for bacteria, mould, and mildew to grow. If left unchecked, these can pose health risks and cause damage that becomes harder and more expensive to repair later.

By cleaning your tiles regularly, you help prevent stained grout, dull surfaces, and musty odours, while also keeping your bathroom safer and more hygienic.

Additionally, bathroom floors with high foot traffic bring in dust and debris that settle into grout lines and corners, which can wear down tiles and shorten their lifespan if not cleaned properly.

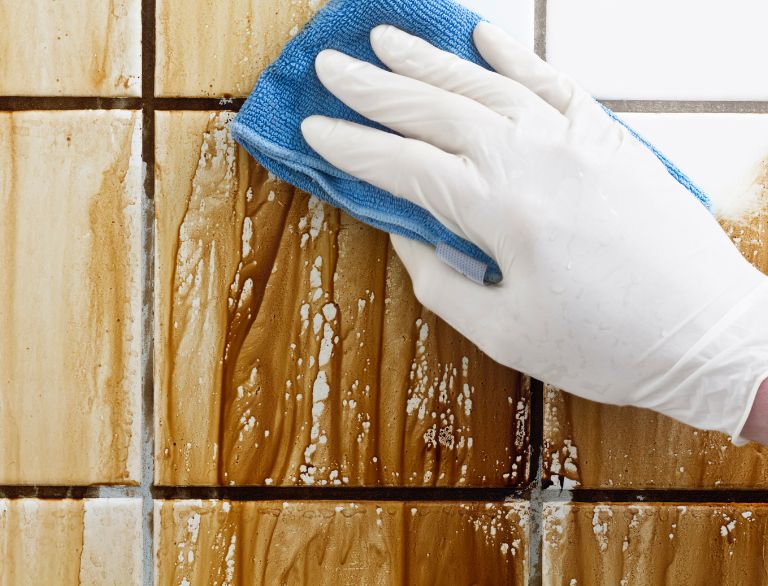
Importance Of Cleaning Bathroom Tiles

How Often Should You Clean Bathroom Tiles?

The frequency of cleaning depends on how much the bathroom is used and the type of tiles installed, but as a general rule:

    • Light cleaning: Wipe down walls and floors once a week using a mild cleaning solution to prevent grime, moisture, and soap scum from building up.
    • Deep cleaning: Scrub tiles and grout lines thoroughly once a month, especially in high foot traffic or wet areas like showers and around the bath.
    • Daily habits: Use a squeegee after showers and keep the room well-ventilated to minimise moisture and mould growth.

Bathroom Tiles Cleaning Frequency

Tools & Cleaning Products You’ll Need

Before you start cleaning, it helps to have the right tiling tools and products ready. Whether you’re using natural remedies or store-bought cleaners, the right gear can make the job faster, easier, and more effective.

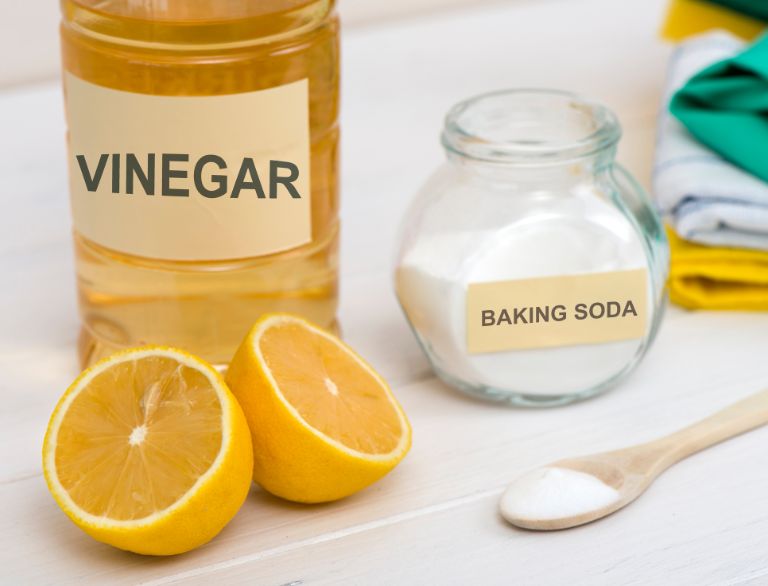
Natural Tile Cleaners

If you’re after gentler, eco-friendly options, natural cleaners are effective for regular cleaning and light grime removal, especially in homes with kids or pets.

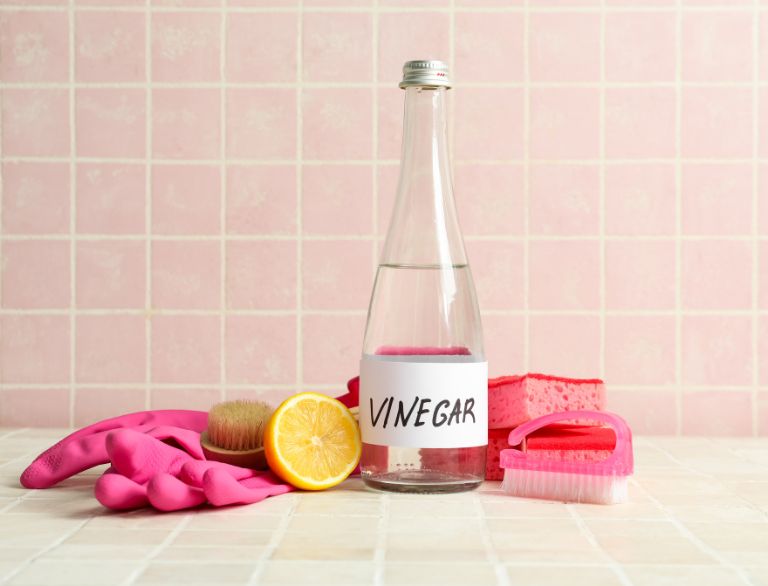
    • White vinegar
    • Baking soda
    • Lemon juice
    • Essential oils (optional)

Natural Tile Cleaners

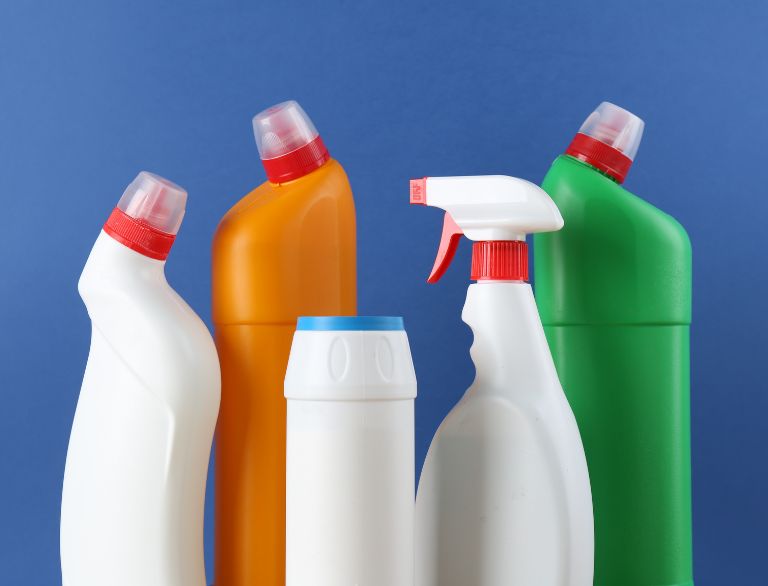
Store-Bought Cleaners

For more stubborn stains or mould build-up, commercial cleaners offer extra strength and faster results. These trusted Aussie products are made to handle tough bathroom messes:

    • CLR Bathroom Cleaner
    • Selleys Rapid Mould Killer
    • Harpic Bathroom Cleaner

Tools

The right tools help you clean more efficiently without damaging your tiles or grout. Stick to soft but effective materials for the best results.

    • Stiff-bristled brush
    • Toothbrush
    • Non-scratch scourers
    • Microfibre cloths
    • Safety gloves

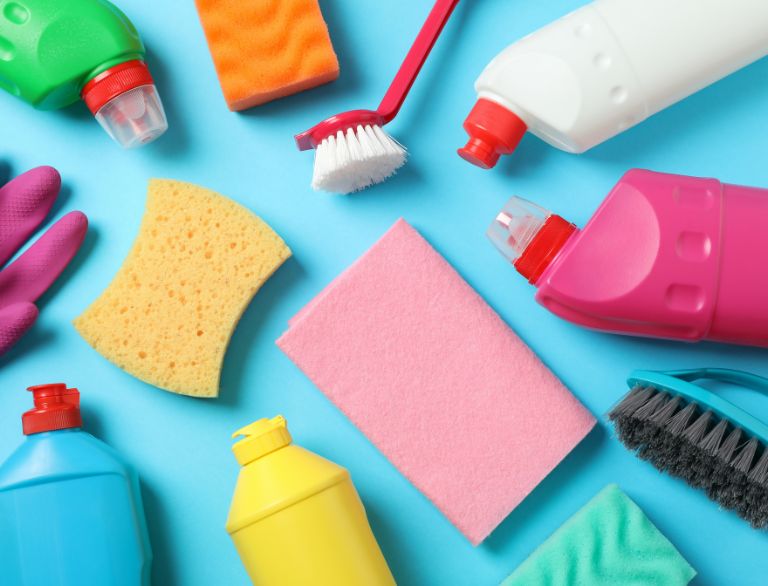
Store Bought Bathroom Cleaners

Know Your Tile Type First (Before You Scrub)

Different tiles need different care. Jumping straight into cleaning without knowing what kind of tiles you have can lead to damage you didn’t expect. Some tiles, like natural stone, react badly to acidic products, while others can handle a bit more scrubbing.

Here’s is a quick breakdown to help you clean confidently and safely:

    • Ceramic Tiles: Durable, low-maintenance, and resistant to humidity, ceramic tiles are a popular choice in bathrooms. They can handle most cleaning products, making them easy to keep clean.
    • Porcelain Tiles: Denser and less porous than ceramic, porcelain tiles are highly resistant to stains and moisture. They’re a great option for both indoor and outdoor bathrooms and can be cleaned with most general-purpose tile cleaners.
    • Natural Stone Tiles: Tiles made from marble, granite, or slate need extra care. Avoid acidic cleaners like vinegar or lemon juice, and stick to pH-neutral solutions. These tiles also benefit from regular sealing to protect the surface.

If you’re re-tiling your bathroom, check out our blog on laying bathroom tiles, and get inspired by modern bathroom design ideas.

Step-by-Step Process of Cleaning Bathroom Tiles

The best way to clean bathroom tiles isn’t about scrubbing harder, it’s about following a simple, smart process that gives you better results with less effort. Whether you’re doing a light clean or tackling stubborn dirt in grout lines, this process will guide you through the best way to clean bathroom tiles safely and properly.

Let’s walk through each step to get your tiles looking their best.

Step 1: Clear and Ventilate the Area

Begin by getting the space ready. Cleaning is much easier (and more effective) when there’s nothing in your way and the air is properly circulating.

    • Remove rugs, baskets, bins, and any loose items around the bath, shower, or vanity.
    • Open windows or switch on the exhaust fan to improve airflow and reduce moisture. This helps prevent the growth of mould and mildew after cleaning, especially in high-humidity wet areas.
    • If your bathroom has poor ventilation, consider running a portable fan during and after the cleaning to help surfaces dry faster.

Why it matters: Proper ventilation supports drying, prevents musty smells, and helps your cleaning solution work more effectively, especially when using soapy water or natural tile cleaners.

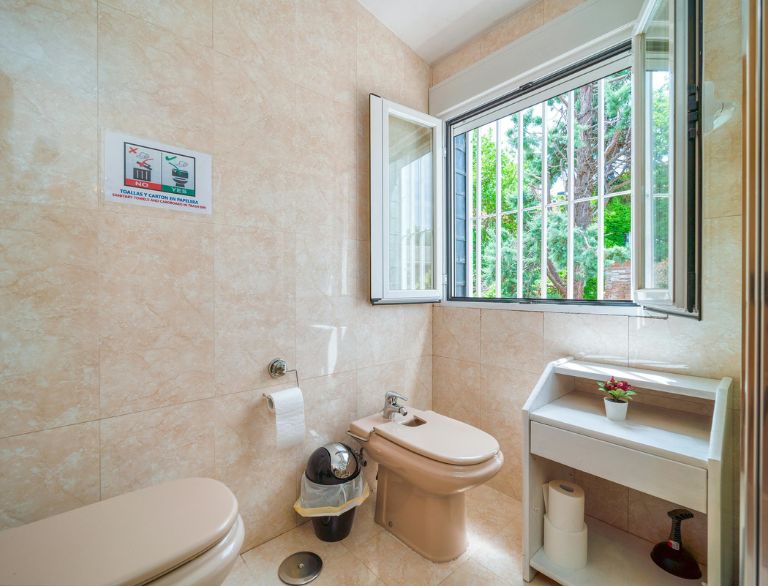
Bathroom Ventilation

Step 2: Steam or Pre-Treat the Tiles

If your tiles have built-up grime or haven’t been cleaned in a while, it’s best to start with a pre-treatment to loosen dirt and residue before scrubbing.

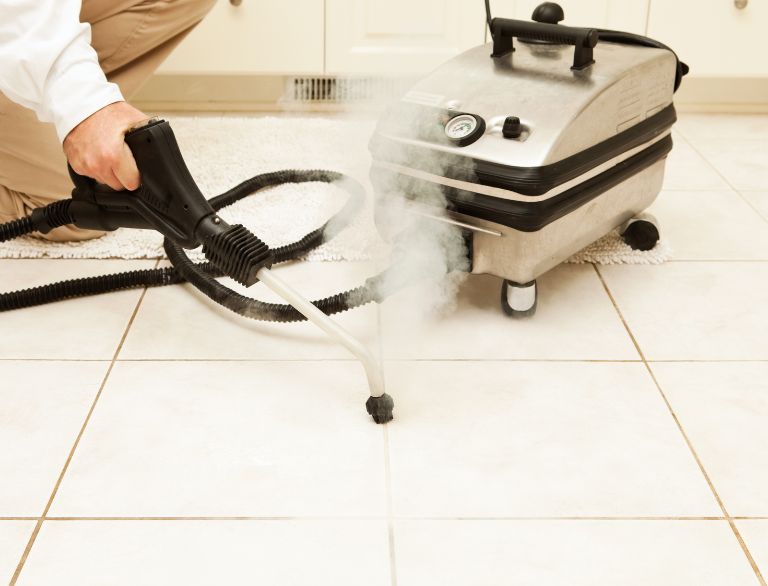
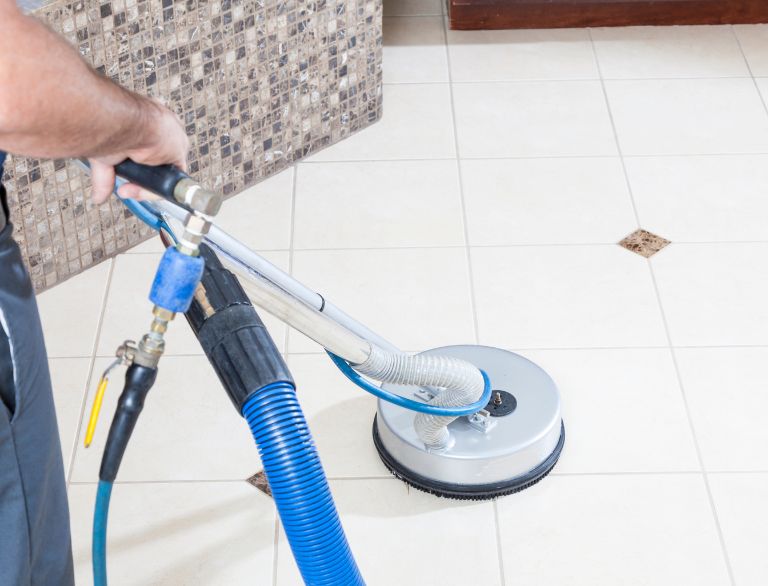
  • Use a steam cleaner if you have one. Steam cleaning helps loosen grime, lifts mould, and breaks up soap scum, especially on shower walls and in grout.
  • If you don’t have a steam cleaner, apply a warm soapy water mix or your preferred bathroom tile cleaner across the tiles. Allow it to sit for 5–10 minutes so it can break down grease, soap scum, and grime.

Step 3: Dust, Sweep, or Wipe

Once pre-treated, it’s important to remove any loose debris from the surface before applying more targeted cleaning. Clearing debris first helps prevent scratching and stops dirt from being pushed deeper into the grout while you clean.

  • For floors: Use a broom, vacuum, or microfibre mop to collect dust, hair, and loose dirt, especially around the edges and under fixtures.
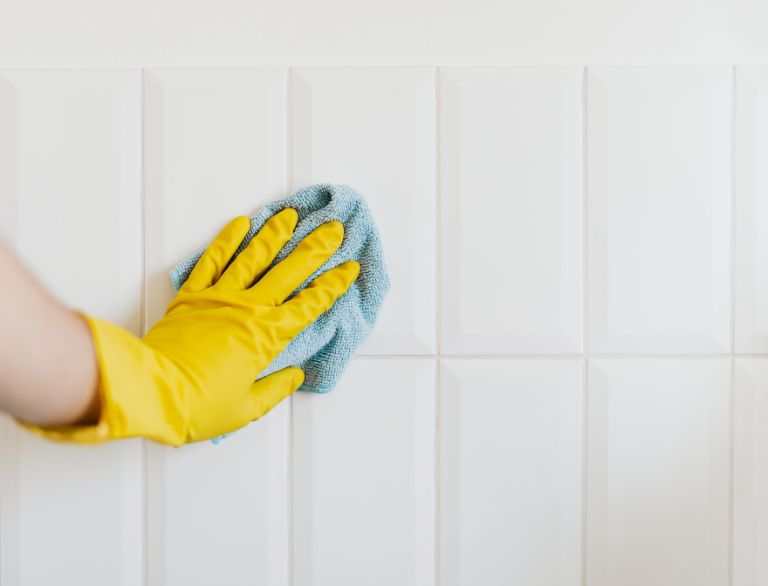
  • For walls: Wipe with a dry microfibre cloth or soft dusting brush to lift lint and light particles from tile surfaces and grout lines.

Steaming Bathroom Tiles

Step 4: Apply Cleaner and Scrub

Now that the surface is prepped, it’s time to get into the main clean. This step removes the built-up grime, stains, and bacteria hiding in tiles and grout.

Choose a cleaner based on your tile type:

  • For general cleaning, a mild bathroom tile cleaner works well.
  • For a natural option, use a mix of white vinegar and baking soda (avoid on natural stone).
  • If you’re dealing with heavy build-up or mould, go for a targeted commercial product.

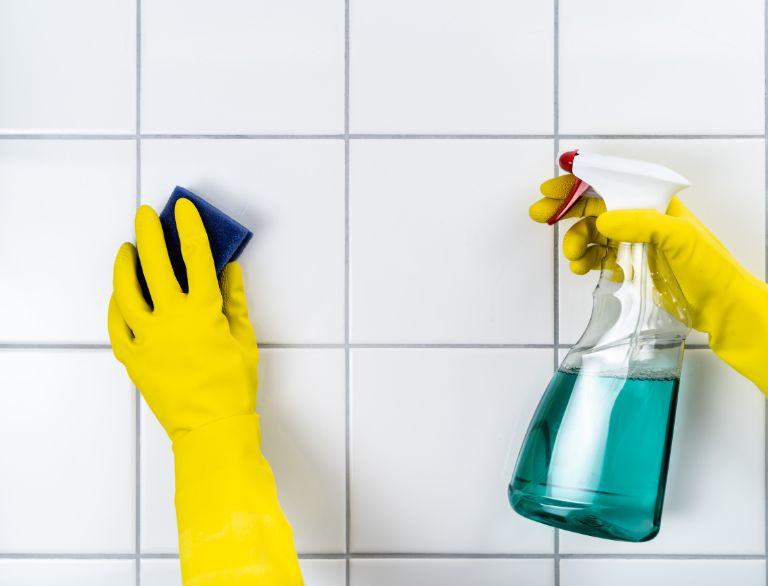
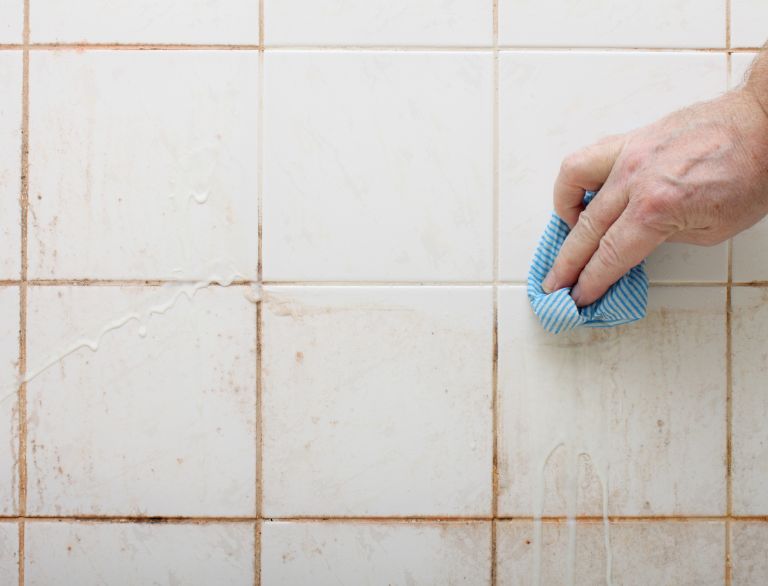
Spray or apply the cleaner across the tiles, focusing on stubborn dirt and grout lines. Let it sit for a few minutes so it can break down the grime.

Then gently scrub using:

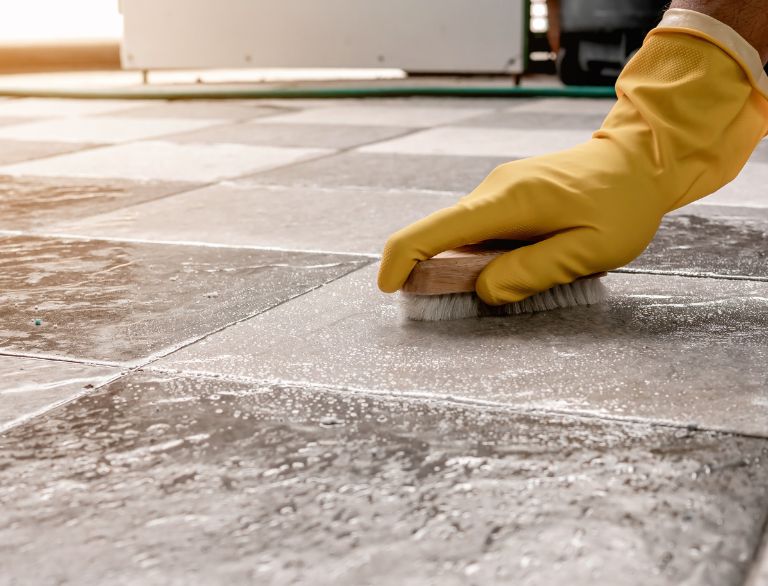
  • A stiff-bristled brush for floor surfaces
  • A non-scratch scourer or sponge for walls
  • A toothbrush for grout or tight corners

Scrub in circles and avoid using too much pressure to protect the tile surface.

Application Of Tile Cleaner

Step 5: Rinse Thoroughly

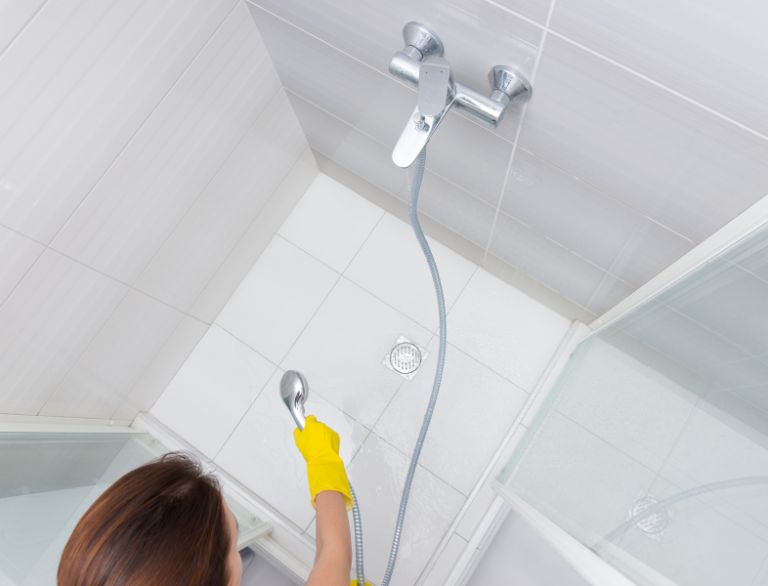
Once scrubbing is done, rinse the tiles with warm water to remove any remaining cleaner and loosened dirt.

  • For wall tiles and showers, use a squeegee or handheld shower head to rinse down surfaces.
  • For floors, use a clean mop soaked in warm water, then go over the area again with fresh water to lift any leftover residue.

Rinsing properly prevents streaks and stops cleaner from drying on the surface, which can make tiles look dull.

Rinsing Bathroom Tiles

Step 6: Dry and Polish Tiles

Drying your tiles is just as important as scrubbing. Leaving them wet can invite mould and streaks right back.

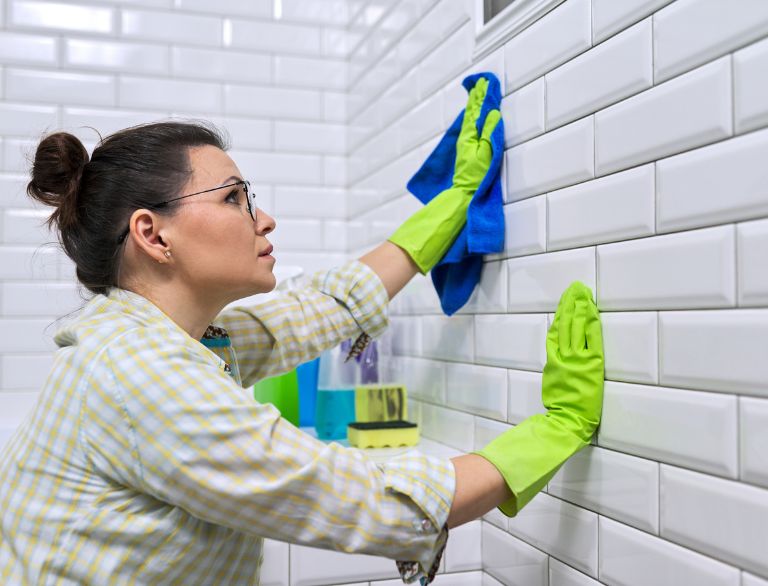
  • Use a microfibre cloth or a soft cloth to wipe down wall tiles and polish surfaces for a streak-free finish.
  • On floors, use a clean, dry mop or towel to soak up moisture, especially in corners and grout lines.

If you have glass or high-gloss tiles, this is where they really shine. A quick dry buff brings back the finish and keeps your tiles looking fresh for longer.

Polishing Bathroom Tiles

How to Clean Bathroom Tile Grout

Even if your bathroom tiles are spotless, dirty grout lines can make everything look dull and unclean. Grout traps moisture, dirt, and soap, especially in wet areas like showers and around the bath. Over time, this can lead to stains, mould, and bacteria.

Cleaning your grout properly keeps your bathroom hygienic and helps maintain the longevity of your tiles.

Step 1: Choose the Right Grout Cleaner

Before you start scrubbing, pick the right cleaner based on how dirty the grout is and what kind of buildup you’re dealing with:

  • Light cleaning: Mix baking soda and water into a thick paste. Great for general maintenance.
  • Stubborn stains or mild mould: Use hydrogen peroxide with baking soda for deeper cleaning.
  • Heavy mould or discolouration: Choose a strong, tile-safe grout cleaner from your local store.
  • Avoid bleach unless it’s a last resort, as frequent use can weaken grout over time and cause fading.

Step 2: Apply the Cleaner and Let It Sit

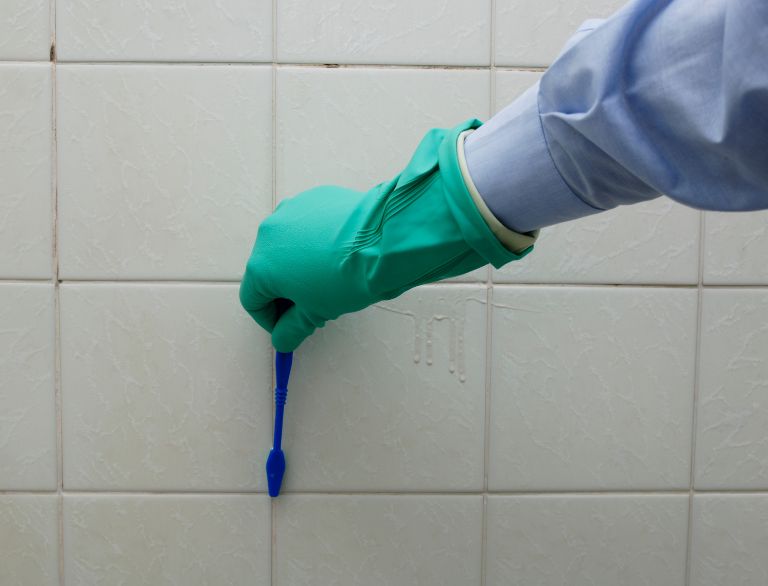
Once your cleaner is ready, apply it generously over the grout lines using a toothbrush or grout brush. Make sure to coat all the stained or affected areas. Let it sit for at least 5–10 minutes. This gives the cleaner time to break down grime, soap scum, and bacteria embedded in the grout.

Grout Cleaners

Step 3: Scrub the Grout

After letting it sit, gently scrub the grout in small circles. Focus on areas with stubborn stains or where mould tends to grow, often in corners or along the edges. Use a bit of pressure, but be careful not to scrub too hard, especially on older grout that may be starting to weaken.

Step 4: Rinse and Dry Thoroughly

Rinse the area with warm water to wash away loosened grime and cleaner residue. Use a clean sponge or microfibre cloth to wipe down the surface. Make sure to dry the grout lines as much as possible afterwards, especially in high-moisture areas, to reduce the chance of mould coming back.

Scrubbing The Grout

Common Tile Issues

Tiles in bathrooms go through a lot, from constant moisture to everyday product build-up. Over time, this leads to stains, mould, and other issues that need more than just a quick wipe-down.

Below are the most common bathroom tile problems and how to clean them the right way.

General Tile Stains

Stains from dirt, shampoo, or everyday splashes can make your tiles look dull or discoloured. Use warm soapy water and a soft cloth or non-scratch scourer for surface marks. For tougher stains, apply a paste of baking soda and water, leave it for a few minutes, then gently scrub and rinse clean.

Mould

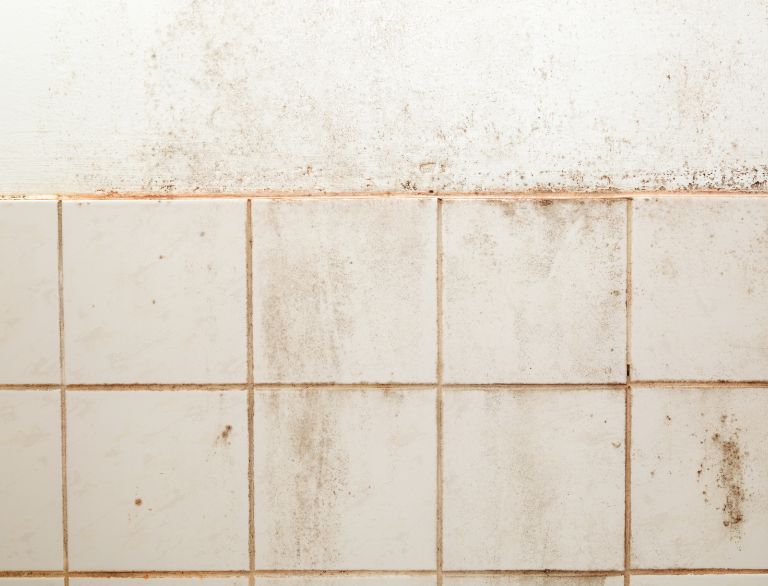
Mould builds up in wet areas like showers, corners, or grout lines where moisture lingers. Spray white vinegar or a bathroom mould cleaner directly on the affected area, wait 10 minutes, then scrub with a brush. Keep your space dry and well-ventilated to help stop it from returning.

Mouldy Tiles

Soap Scum

Soap scum forms where soap meets hard water, leaving behind a cloudy film on tiles and shower screens. Mix equal parts dish soap and vinegar, spray onto the surface, and scrub gently using a non-abrasive sponge. Rinse with warm water and dry to restore shine.

Hard Water Stains

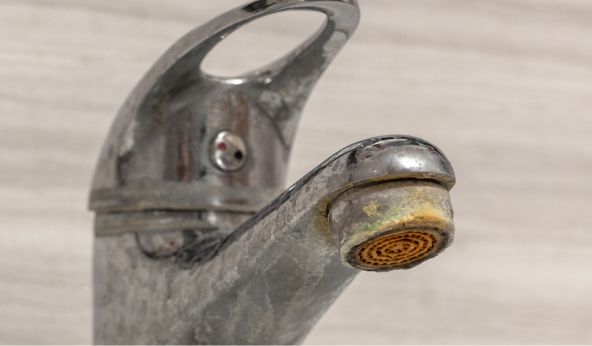
Hard water leaves behind white, chalky marks, especially around taps or glass. Spray a solution of vinegar and water over the stain, let it sit briefly, then wipe clean with a soft cloth. Avoid using vinegar on natural stone tiles, as it can damage the surface.

Hard Water Stains In Bathroom

Paint

If paint ends up on glazed tiles, soften it with warm soapy water, then scrape gently using a plastic scraper or safety razor held at a low angle. Avoid metal tools or harsh scrubbing to prevent scratching the surface.

Oily Residue or Skincare Build-up 

Oils from products like body wash, shampoo, or moisturiser can leave a slick film behind. Use warm, soapy water and a soft sponge to clean the surface. If the residue is heavy, switch to a mild degreasing cleaner, then rinse and dry thoroughly.

Skincare Build Up On Bathroom Tiles

Common Mistakes to Avoid

Cleaning bathroom tiles seems simple, but a few easy-to-miss mistakes can damage surfaces or undo your hard work. Being aware of these can save time and help your tiles last longer.

Using Vinegar or Lemon on Marble

Acidic cleaners like vinegar or lemon juice can damage natural stone tiles such as marble, travertine, or limestone. These ingredients can etch the surface and cause dull patches. Always use a pH-neutral cleaner made specifically for natural stone.

Not Rinsing Chemical Cleaners

Leaving cleaner residue behind can lead to streaks, dullness, or even surface damage over time. After using any cleaning product, rinse the area thoroughly with clean water to remove any remaining chemicals.

Vinegar Or Lemon For Tiles

Scrubbing Too Harshly on Soft Finishes

Using abrasive brushes or too much pressure on delicate tiles or glossy finishes can cause scratches. Always choose non-scratch sponges or soft-bristled brushes and test in a small spot first if you’re unsure.

Skipping Ventilation After a Shower

Poor ventilation allows moisture to build up, which creates the perfect environment for mould and mildew. After a shower, open a window, switch on the exhaust fan, or leave the door ajar to help dry out the room faster.

Leaving Tiles Wet

Water left sitting on tiles, especially in corners or grout lines, can lead to discolouration, mildew, or mineral build-up. Wipe down surfaces with a dry cloth, use a squeegee on glass and wall tiles, or mop up excess water from the floor after use.

Scrubbing Too Harshly On Tiles

Eco-Friendly and Pet/Child-Safe Cleaning Methods

Keeping your bathroom clean doesn’t have to involve harsh chemicals. If you have young kids or pets in the house, it’s worth choosing cleaning products that are safe, gentle, and still effective.

With the right natural ingredients, you can tackle grime and stains while keeping your home healthy:

    • White vinegar and water: A powerful mix for cleaning ceramic and porcelain tiles. Avoid using it on natural stone.
    • Baking soda paste: Great for scrubbing grout and removing stubborn marks without damaging the surface.
    • Lemon juice: Naturally acidic and useful for lifting mild stains and odours. Do not use on marble or other stone tiles.
    • Castile soap: A mild, plant-based soap that works well for day-to-day tile cleaning.
    • Essential oils (optional): Add a few drops of eucalyptus or tea tree oil for antibacterial support and a fresh scent.

Finish by rinsing well and drying with a soft cloth to avoid any residue.

When cleaning isn’t enough and you’re ready for new tiles, see our bathroom renovation ideas and bathroom tile trends for inspiration.

Bathroom Tiles Cleaning Tips

Clean tiles don’t just happen after one big scrub. It’s the smaller, regular habits that make the biggest difference over time.

By combining quick daily care with routine maintenance, you’ll prevent build-up, reduce wear, and keep your bathroom looking fresh with less effort.

Below, you’ll find practical tips split into everyday habits and longer-term care, so your tiles stay cleaner, longer.

Daily Habits for Cleaner Tiles

These tasks are quick and easy to do as part of your everyday routine:

    • Dry tiles after each shower using a soft cloth or squeegee to prevent water spots and mould.
    • Wipe up spills quickly, especially soaps, hair products, or skincare that can leave oily residue.
    • Use a daily squeegee on glass and wall tiles to reduce soap scum build-up.
    • Clean high-use areas regularly, like floors near the shower and vanity.
    • Ventilate the space by opening a window or turning on an exhaust fan to lower humidity.
    • Never mix cleaning products, especially bleach and vinegar, which can release harmful fumes.

Daily Habits For Cleaner Tiles

Ongoing Maintenance Tips

These aren’t needed daily, but they help extend the life and appearance of your tiles:

    • Stick to a weekly cleaning schedule, even if the tiles look clean. This keeps grime and soap scum from setting in.
    • Seal grout every 6 to 12 months, particularly in areas with natural stone or older tiles with excessive grout.
    • Rotate your cleaning products occasionally to avoid residue build-up or surface dullness.
    • Deep clean less visible areas monthly, such as corners or behind the toilet.
    • Inspect for mould or stains regularly, and treat early before they spread.

Bathroom Tiles Maintenance

When to Call in a Professional Tile Cleaner

Sometimes, no matter how much you scrub, the results still fall short. If your grout is deeply stained, tiles look worn, or mould keeps coming back, it may be time to bring in the pros.

Professional tile cleaners have the tools, products, and experience to tackle tough build-ups safely and effectively. They can also reseal grout, polish surfaces, and restore the original finish of your tiles without risking damage.

Consider hiring a professional if:

    • Regular cleaning isn’t working
    • You’re dealing with persistent mould or discolouration
    • You have natural stone tiles that need expert care
    • You’re preparing a home for sale or post-renovation

Getting help when it’s needed can save time, protect your tiles, and bring your bathroom back to life.

Thinking of replacing your tiles? Our bathroom renovation cost guide has all the details you need.

A Clean Bathroom is a Happy Bathroom

Cleaning bathroom tiles doesn’t have to be frustrating or time-consuming. With a consistent routine, the right products, and a clear understanding of your tile type, you’ll get better results with less effort. Clean tiles not only look better but also help maintain a healthier, more inviting space.

And if you’re planning a bathroom refresh or new build, choosing the right bathroom tiles from the start makes all the difference in long-term maintenance. At TFO, you’ll find one of Australia’s best selections of high-quality, affordable bathroom tiles.

Visit our Sydney showroom or explore our range online to find bathroom tiles that are beautiful, practical, and made to last.


Cleaning Bathroom Tiles FAQs

What is the best way to clean shower tiles?

The best way to clean shower tiles is to use a mix of white vinegar and dish soap. Spray, let it sit for 10 minutes, scrub with a non-scratch sponge, then rinse and dry thoroughly.

How to clean bathroom tiles stain with baking soda?

To clean stains on bathroom tiles with baking soda, make a paste using water and baking soda. Apply it to the stained area, leave for 10–15 minutes, scrub gently, then rinse clean.

How to clean marble tiles in bathrooms?

The safest way to clean marble bathroom tiles is with a pH-neutral stone-safe cleaner and a soft cloth. Avoid vinegar, lemon, or any acidic products as they can damage the surface.

How to deep clean bathroom tiles?

To deep clean bathroom tiles, pre-treat with steam or soapy water, then scrub using a tile-safe cleaner and soft brush. Rinse thoroughly and dry to remove all residue and moisture.

How to clean old tiles bathroom?

The best way to clean old bathroom tiles is to use a gentle cleaner or baking soda paste to lift grime without damaging the surface. Focus on grout lines and reseal if needed.

What is the best way to clean bathroom tiles?

The best way to clean bathroom tiles is to sweep or wipe first, then use a mild cleaner suitable for your tile type. Scrub gently, rinse well, and always dry the surface after cleaning.

How to clean bathroom wall tiles?

To clean bathroom wall tiles, spray with a tile-safe cleaner, let it sit briefly, then wipe with a damp cloth. Use a squeegee after showers to reduce soap scum and water spots.

What is the best product for cleaning bathroom tiles?

The best products for cleaning bathroom tiles include CLR Bathroom Cleaner, Harpic Bathroom Cleaner, and Selleys Rapid Mould Killer. Choose based on your tile type and specific cleaning needs.

How to clean bathroom floor tiles?

Cleaning bathroom floor tiles starts with sweeping or vacuuming to remove dust and grit. Then mop with warm water and a suitable tile cleaner. Finish by drying the surface with a towel or dry mop to prevent streaks and build-up.

After cleaning your tiles, if you’re thinking about DIY bathroom renovations, our step-by-step guide can help you plan the perfect update.