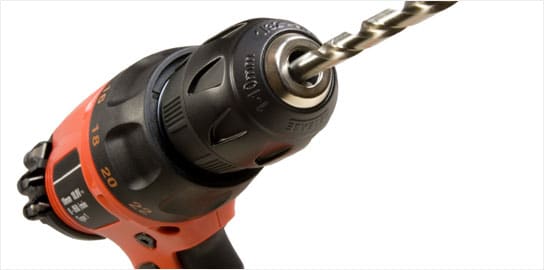
Would you like to understand how drilling porcelain tiles is handled? This short article will assist you by providing clear steps that would be very important in your drilling task. Drilling porcelain tiles could be required if you need to put up accessories in your bathroom or any other room that’s got porcelain tiles. To illustrate, by drilling porcelain tiles, you would be equipped to put a bathroom shaving cabinet, a mirror, a soap dish, towel rails, or maybe your bath and body products holder in place.
To begin your drilling activity, you must first figure out what type of resources you’ll need to do the activity. Here are the instruments you’ll need:
Drilling Porcelain Tiles – RCD Breaker
Drill Bits of Diamond Core (Good Quality)
Masonry Drill Bits (Bundled w/ quality drill bits)
Drill Bit of Carbide Pilot ( you can use this when you drill 13-mm hole or larger holes)
Equipment for Water Cooling
Drilling Device
Safety Glasses or Goggles
Grade Of The Various Tools
These materials can be bought in various stores. You could simply get these before proceeding to your drilling activity. You should be sure of the grade of the various tools first so that the result of the drilling will be suited to your need.
One other thing that you should take into account with drilling porcelain tiles is the size of the holes that you’re going to create. This is fairly important because the size or diameter of the hole will determine how big the drill bit you’re going to use should be.
After deciding the diameter of the holes you are about to drill and preparing the instruments you’ll require for the drilling, you can start to commence drilling your porcelain tiles. Be sure to wear your safety goggles to keep your eyes safe from debris. Also be sure to use the RCD breaker to prevent an electric shock.
These proceeding steps would be for holes about 10mm or less in diameter using diamond cores.
Proceeding Steps
1. Put an indicator at the hole’s center. You can either utilize a sticky tape or perhaps lead pencil.
2. Grab the right size of the diamond core bit. After that, affix it to the electric drill. Make sure that there’s a constant supply of water from any cooling equipment. (Water cooling devices are important in keeping it sure that there’s a constant cool temperature in the diamond core bit and this will prevent debris when drilling the hole. Don’t utilize handheld aspirator or wet sponge, for these never render sufficient coolant to the diamond core bit.)
3. Your drill ought to be positioned between 1000 & 1500 rpm. Choosing the marker as a marking tool, it’s most appropriate to implement the “Leaning In” method.
*Method of Leaning In- With an angle, you will begin to drill. When you see the drill cuts the tile, your drill must remain in horizontal position. Ensure there is sufficient pressure laid and turn the drill till the hole is completely drilled.
*Method using Sticky tape- Put sticky tape on the wall just where you need the hole. It will aid to prevent the drill bit from sliding.
4. Tip- I picked up a great from TFO. When the hole has started, don’t use a lot of pressure allow the drill carry out the work.


