DIY Bathroom Renovation in Australia: A Step-by-Step Guide

A bathroom that no longer works for your lifestyle can be frustrating.

It’s one of the most-used spaces in the home, and when it feels off, you notice it every day.

With the right plan, you don’t need a full team of tradies to bring your bathroom back to life. A DIY bathroom remodel can save you thousands and give you full creative control, but it also comes with its own challenges.

That’s why this comprehensive guide covers every stage of the process, from planning and demolition to tiling, fittings, and beyond, so you can avoid costly mistakes and feel confident at every step.

Let’s dive in.

Diy Bathroom Renovation Guide

1. Planning Your Bathroom Renovation

Before you lift a hammer or pick up bathroom tiles, careful planning is the most important phase of a bathroom reno.

A clear plan helps you stay on budget, avoid delays on time-consuming steps, and reduce costly mistakes. Planning also gives you clarity on what’s achievable with your bathroom renovation budget, what work can be done DIY vs what needs a professional, and how to sequence everything for a smoother workflow.

Set your goals and budget

Start by being honest about what you want to achieve.

Are you updating a dated bathroom?

Creating more storage?

Increasing resale value? 

Your goal will shape your decisions from floor and wall tile selection to fittings, as well as the budget.

Once your goal is clear, it’s time to set your budget. For a DIY renovation, it’s important to understand not just how much you can spend, but also where that money should go. 

Labour is often the biggest cost, so doing the work yourself frees up funds for better materials or new fixtures.

Setting Goals And Budget

Design and Layout planning

Every full bathroom renovation starts with a reason. Maybe your current space feels outdated, lacks storage, or simply doesn’t function well for your family. The design and layout phase is your chance to fix what’s not working and create a space that suits your lifestyle.

Measure the space carefully and sketch a layout that improves flow and usability. Also, collect pictures of inspiration as these will help you visualise your ideas.

Diy Bathroom Layout Planning

Tools and materials checklist

If you’re doing most of the work yourself, you’ll need a mix of standard tiling tools and materials. Some tools you may already own, while the other hardware can be hired to keep costs down.

Tools and equipment:

  • Tape measure and spirit level
  • Utility knife and hammer
  • Cordless drill and drill bits
  • Tile cutter (manual or electric)
  • Notched trowels for adhesive
  • Grout float and sponge
  • Caulking gun
  • Bucket, mixing paddle, and paint rollers
  • Safety gloves, mask, and eye protection

Materials

  • Wall and Floor tiles 
  • Tile adhesive
  • Grout and waterproofing membrane
  • Primer, paint, and sealant
  • Screws, fixings, and brackets
  • Silicone for sealing joints
  • Cleaning cloths and drop sheets

Permits and regulations in Australia

Australia has strict building standards to ensure safety, especially in wet areas like bathrooms.

Here are the key rules that apply across most states:

  • Plumbing and electrical work must be done by licensed tradespeople
  • Waterproofing must comply with AS 3740, the national standard for waterproofing wet areas in residential buildings.
  • Structural changes, such as removing walls or altering drainage, may require building approval
  • Any work over $5,000 in labour and materials must be completed by a licensed contractor.

Permits And Regulations In Australia

2. Demolition and Waste Removal

Demolition is the first physical step in your renovation. This is where you strip out old fixtures, tiles, and fittings to make way for the new design. What drives the demolition depends on how much you’re changing. A full remodel may require removing everything back to the studs, while a simple update might only involve taking out tiles or a vanity.

  • Before you begin, shut off water and power, and wear safety gear like gloves and eye protection. Remove items in stages: fittings first, then tiles and flooring.
  • For waste, hire a skip bin or use a local tip. 
  • If your home was built before the 1990s, be cautious. Some older materials may contain asbestos and require professional removal. 
  • Always dispose of waste responsibly and follow your local council’s guidelines.

Demolition And Waste Removal

3. Plumbing Considerations

Plumbing and electrical work are two areas in a bathroom renovation where DIY has legal limits. In Australia, any work like adding a new bathtub or a walk-in shower that alters plumbing or electrical fixtures must be done by a licensed professional.

That said, there are still small tasks you can do yourself. Replacing tapware, faucets, shower heads, or fitting a new vanity that connects to existing plumbing is generally fine, as long as no new connections are made. The same goes for swapping out light fittings or installing a new exhaust fan, as long as you’re not modifying wiring.

While hiring a tradesperson, get quotes early, check licences and insurance, and ask for compliance certificates once the work is complete.

Plumbing In Bathroom

4. Waterproofing Before Tiling

Waterproofing is your next critical step. It’s a legal requirement under Australian building standards, and when done properly, it protects your bathroom from leaks, mould, and long-term damage.

Application steps

Here is how to waterproof your bathroom:

  • Make sure all surfaces are clean, dry, and dust-free
  • Apply a suitable primer to the floor and wall areas
  • Once dry, apply the first coat of waterproofing membrane with a roller or brush
  • Use reinforcing fabric in corners, joints, and around shower floor drains
  • Allow the first coat to dry completely
  • Apply a second coat at a right angle to the first for full coverage
  • Let the membrane cure fully (usually 24–48 hours) before tiling begins

Waterproofing Bathroom

5. Tiling and Grouting

Once waterproofing is complete and fully cured, it’s time to move on to tiling. It’s a task many homeowners take on themselves, but it does require patience and attention to detail. If your surfaces are level and your layout is planned, the process will be much smoother. Precision at this stage makes all the difference in the final finish.

How to lay tiles like a pro

Since you’ve already planned your tile selection and layout, this part is all about execution. The key now is accuracy. Keeping everything level, spaced correctly, and clean as you go.

  • Mark out guidelines using a level and chalk line before starting
  • Begin from a focal point or centre line rather than the edge
  • Apply adhesive in small sections with a notched trowel
  • Press each tile firmly into place, using spacers for even joints
  • Check alignment regularly to keep rows straight
  • Clean off any adhesive that squeezes out before it sets

Tiling In Bathroom

Grouting and sealing

Now, it’s time to grout and seal your tiles. For this:

  • Wait at least 24 hours for the adhesive to fully cure
  • Apply grout diagonally across joints with a rubber float
  • Wipe off excess grout with a damp sponge before it dries
  • Once dry, apply grout sealer to protect from stains and water damage
  • Finish edges and corners with flexible silicone sealant for a watertight seal

Tiling And Grouting

6. Accessorise Your Bathroom

With the main construction complete, accessories are the final layer that brings functionality and personality to your old bathroom. This step is entirely personal, so there’s no right or wrong, just what works for your space and style.

Here are some ideas:

Fitting and Fixtures

Install practical bathroom accessories like towel rails, toilet roll holders, robe hooks, and shelving. Choose finishes that match your tapware for a cohesive look, and place items where they’re easy to reach and use.

Mirrors and Lights

Mirrors add light and make small bathrooms feel bigger. You can go with a standard mirror, mirrored cabinet, or a feature piece with backlighting. Use layered lighting by combining ceiling lights with wall or vanity lighting for both function and style.

Decor Elements

This is where you personalise the space. Add plants, soap dispensers, artwork, and bath mats to suit your aesthetic. Stick to your colour palette and avoid over-cluttering as simple details often have the biggest impact. A large mirror or frosted windows can help improve light and privacy.

Minimal Bathroom Accessories

7. Final Touches

Before wrapping up, take a moment to check that everything is sealed, secure, and clean. Test all fittings, check for leaks, and ensure the bathroom is properly ventilated. A good clean and a few finishing touches will make the space feel complete and ready to use.

Mistakes to Avoid During Renovation

Renovating a bathroom yourself can be rewarding, but it’s easy to make mistakes that lead to delays, budget issues, or long-term damage. Here are the most common ones to watch out for:

Underestimating DIY Limitations

It’s easy to feel confident watching tutorials, but real-life execution is another story. Some tasks, like plumbing and wiring, simply aren’t worth the risk without proper training.

Skipping Proper Surface Preparation

No amount of expensive tiles or paint will hide poor prep. Uneven, dusty or damp surfaces can ruin your finish and lead to long-term issues like peeling or leaks.

Diy Renovation Mistakes

Not Following the Correct Order of Work

Tiling before waterproofing? Installing the vanity too soon? Doing things out of sequence leads to damage, wasted time, and rework that could’ve been avoided.

Overlooking Ventilation and Lighting

A beautiful bathroom means nothing if it’s damp and dark. Good airflow prevents mould, and smart lighting makes the space more functional and comfortable.

Choosing Style Over Function

That matte black tap might look great now but is it practical to clean? Design decisions should suit daily use, not just Instagram.

Not Documenting the Process

Once everything is tiled and sealed, you’ll wish you knew where the pipes and wiring were. Snap photos at each stage. Your future self (or plumber) will thank you.

Removal Of Bathroom Tiles

Budgeting Tips

Bathroom renovations can quickly go over budget if you’re not careful, especially when you’re managing the project yourself. A tight budget keeps you in control and helps avoid unnecessary stress during the build. Here are some great tips to keep it on budget.

  • Always set your budget before starting, and include a 15–20% buffer for unexpected costs.
  • Stick to your existing layout where possible, as moving plumbing or wiring can blow out both time and money.
  • Avoid impulse purchases by finalising your design and product list before you begin shopping.
  • Hire or borrow tools you’ll only use once instead of buying them outright.
  • Take advantage of sales, clearance items, and trade discounts.

Budgeting Tips for DIY bathroom renovation

Need Help Choosing Tiles for Your Bathroom?

We know picking the right tiles can be overwhelming, and that’s why we’re here to help. Our showroom offers a wide collection of bathroom tiles for both walls and floors, from timeless neutrals to bold feature pieces.

Not sure what will suit your space? Our in-house interior designer, Stephanie, provides personalised colour and design consultations to help you create a bathroom that feels just right.

You can also order free tile samples so you can see how they look in your own lighting and space.

Explore our bathroom tile collection or book your free design consult with Stephanie today. Visit our Sydney showroom or request free samples online.

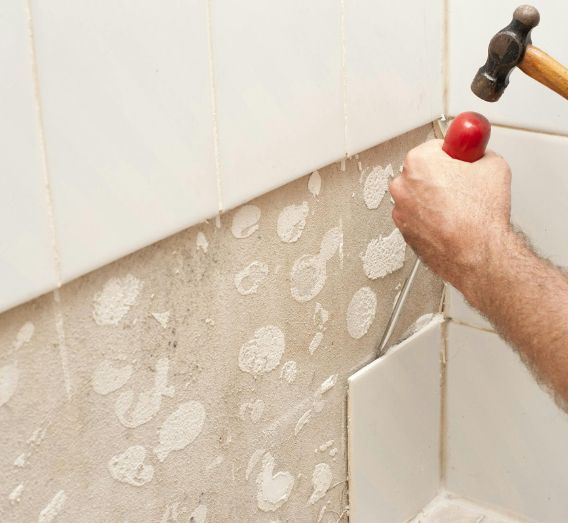
DIY Bathroom Renovations FAQs

Can I renovate my bathroom myself in Australia?

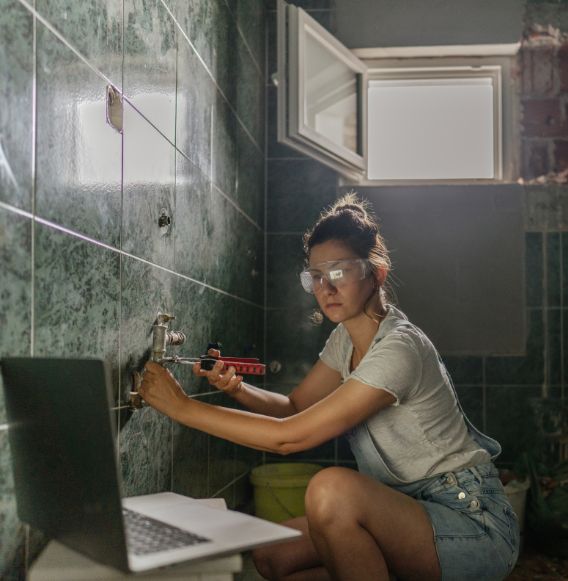
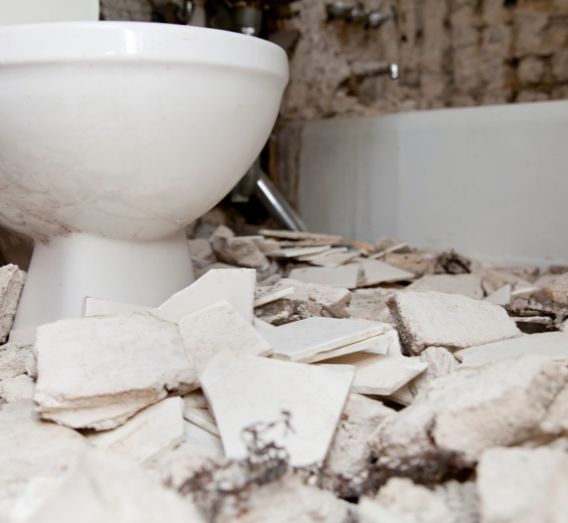
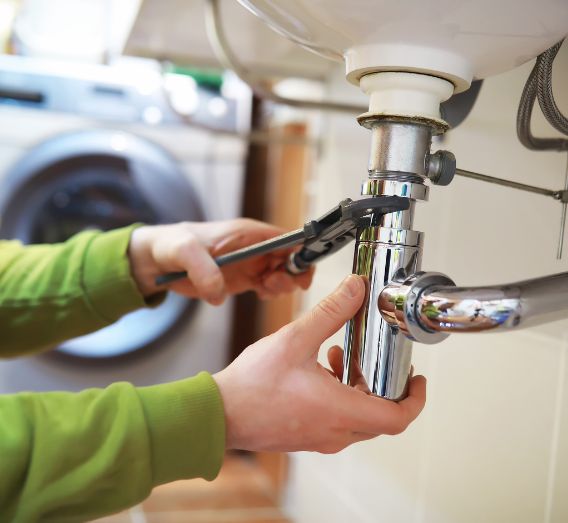
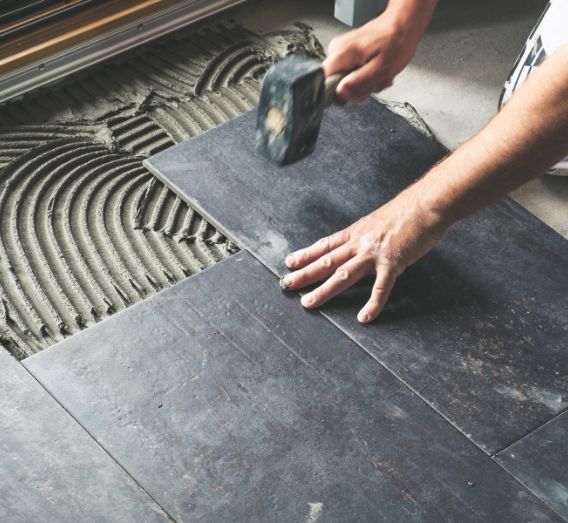
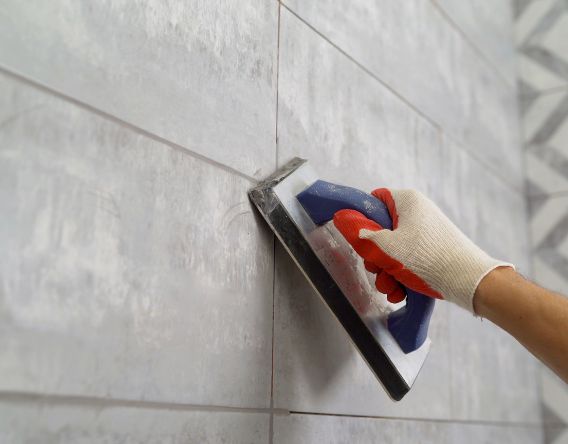
Yes, you can complete many parts of a bathroom renovation yourself, such as demolition, tiling, painting, and installing fittings. However, plumbing, electrical, and waterproofing (in some states) must be done by licensed professionals to meet legal and safety standards.

Do I need council approval to renovate my bathroom?

In most cases, no council approval is needed for a standard bathroom renovation if you’re not altering the structure or layout. But if you’re moving plumbing, removing walls, or making major structural changes, it’s best to check with your local council.

How much does a DIY bathroom renovation cost in Australia?

DIY bathroom renovations typically cost between $5,000 and $15,000, depending on the size, scope, and quality of materials used. Doing the labour yourself can save thousands, but you’ll still need to factor in licensed trades where required.

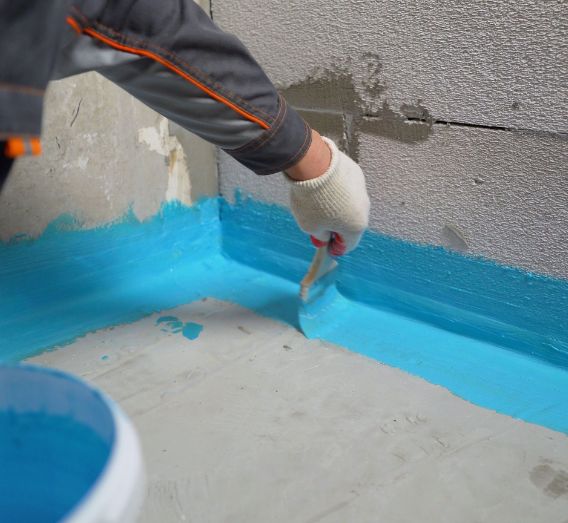
Can I waterproof my bathroom myself?

It depends on your state. In some areas, like NSW, waterproofing must be carried out by a licensed waterproofer. In others, DIY is allowed but must still meet the Australian Standard AS 3740.

How long does a full DIY bathroom renovation take?

A full DIY renovation can take anywhere from 3 to 6 weeks, depending on your availability, scope of work, and whether you need to coordinate with trades.

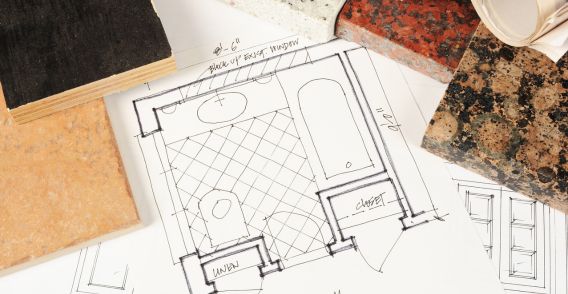
In what order should you renovate a bathroom?

The typical renovation order is: planning and design, demolition, plumbing and electrical rough-in, waterproofing, tiling, painting, installing fittings, then finishing touches and cleanup.

How can I save money on my bathroom renovation?

Stick to your existing layout, do your own demolition and tiling, borrow or hire tools, and shop smart for materials. Invest in quality where it counts, and avoid rework by planning properly from the start.