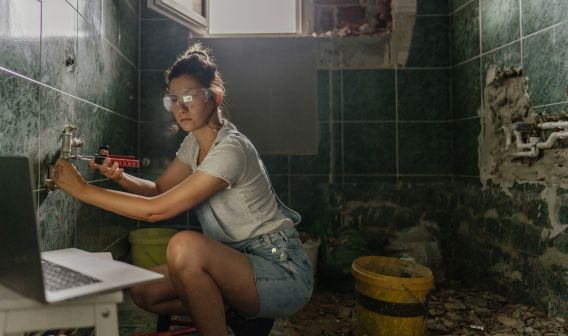
How To Tile A Bathroom: A Step-by-Step Guide

Tiling a bathroom sounds simple enough, until you’re standing there with a bucket of adhesive, a pile of bathroom tiles, and no idea where to start.

It happens to the best of us.

Maybe you’re trying to save a bit on the renovation costs, or you just like the idea of doing it yourself. Whatever your reason, one thing’s for sure. You want it done right.

This guide is here to make sure of that. We’ll walk you through exactly how to tile a bathroom, what to avoid, and how to get that clean, professional looking finish.

You’ve got this.

How To Tile A Bathroom

Tiling A Bathroom: What You’ll Need

Before you start tiling your bathroom, it’s important to have everything ready. The right tiling tools and materials will make the job easier, faster, and help you get a clean, professional finish.

Here’s a simple checklist of what you’ll need to do the job properly.

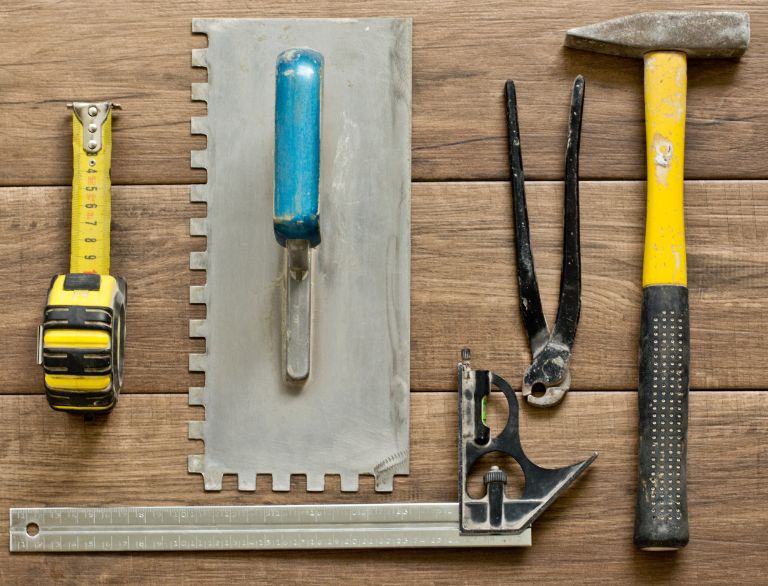
Tools

    • Measuring tape
    • Spirit level or laser level
    • Pencil or marked line
    • Notched trowel
    • Rubber grout float
    • Sponge and bucket
    • Mixing bucket and paddle
    • Rubber mallet
    • Tile spacers
    • Set square

Tiling Tools

Equipment

    • Manual tile cutter
    • Angle grinder or wet saw
    • Tile nippers
    • Safety gear (gloves, goggles, face mask)

Materials

    • Bathroom wall and floor tiles
    • Tile adhesive (check for wall or floor use)
    • Grout
    • Silicone sealant
    • Waterproofing membrane or primer

Safety Gear For Tiling

Step-by-Step Process

Beginning a tiling job might seem overwhelming at first, but once you understand the process, it’s surprisingly manageable. The key to a great finish is good preparation, careful planning, and patience at each step.

Below is a complete guide that walks you through the process, with tips specific to wall and floor tiling where needed.

Step 1: Prepare the Surface

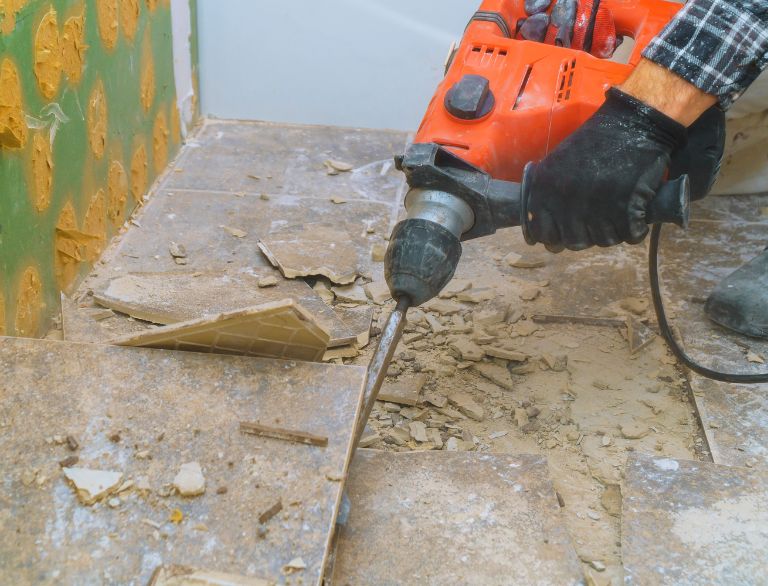
Good preparation is key to a successful tiling job. Start by cleaning and clearing the area. Remove any existing tiles, adhesive, wallpaper, paint or grime. The surface must be solid, clean, dry, and level. 

Any cracks or holes should be patched using filler or plaster. A smooth, stable surface ensures your tiles stick properly and stay put over time.

Apply a waterproofing membrane to all wet areas, especially around the shower, bathtubs, and bathroom floor. Follow the product instructions and let it completely dry before moving on.

Step 2: Plan Your Tile Layout

Before you apply any adhesive, plan how your tiles will be laid out. Measure the space and find the centre point of the floor or wall. Use a chalk line or laser level to mark two straight lines that intersect in the centre.

Dry lay a few rows of tiles along both lines. This helps you see how the tiles will sit and where any cuts will need to be made. Adjust your starting point slightly if needed for a more balanced layout.

Ready to tile? Check our guide on choosing bathroom tiles so you don’t regret your choice.

Preparing The Tiling Surface

Step 3: Mix and Apply Adhesive

Mix your tile adhesive according to the manufacturer’s instructions using a drill and paddle mixer. You want a smooth, lump-free mix. Let it sit (if the instructions say so), then mix again before using.

Using a notched trowel, spread the adhesive onto a small area of the surface of both the tile and wall/floor. Hold the trowel at a 45° angle to create ridges. 

This helps the tile bond properly. Only cover an area you can tile within 10 to 15 minutes to stop the adhesive from drying too fast.

Before you lay bathroom tiles, check out these bathroom renovation ideas and bathroom tile trends that are popular in 2025.

Step 4: Lay the Tiles

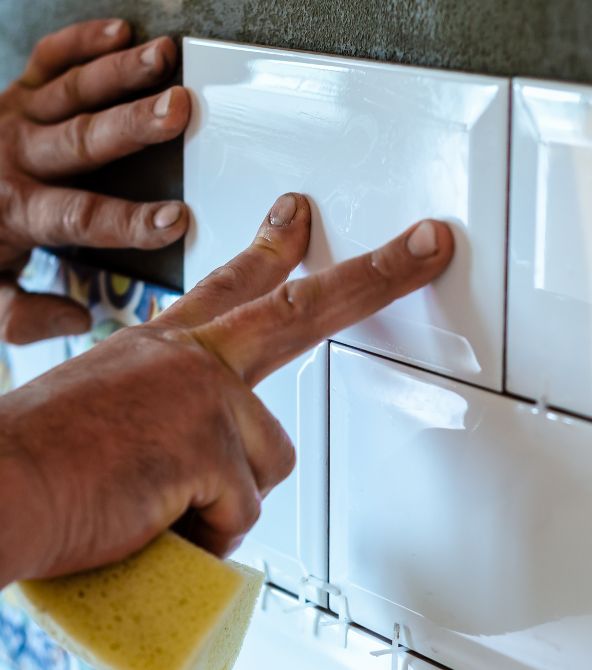
Begin installing tiles along your guidelines. Press each tile firmly into the adhesive and give it a slight twist to help it settle in. Place tile spacers between each tile to maintain even gaps for grouting later.

Use a spirit level regularly to check that the tiles are flat and aligned. Clean away any excess adhesive that squeezes out between the tiles before it dries. Lay a few tiles at a time, then stop and check your alignment again.

Laying The Bathroom Tiles

Step 5: Cut Tiles to Fit

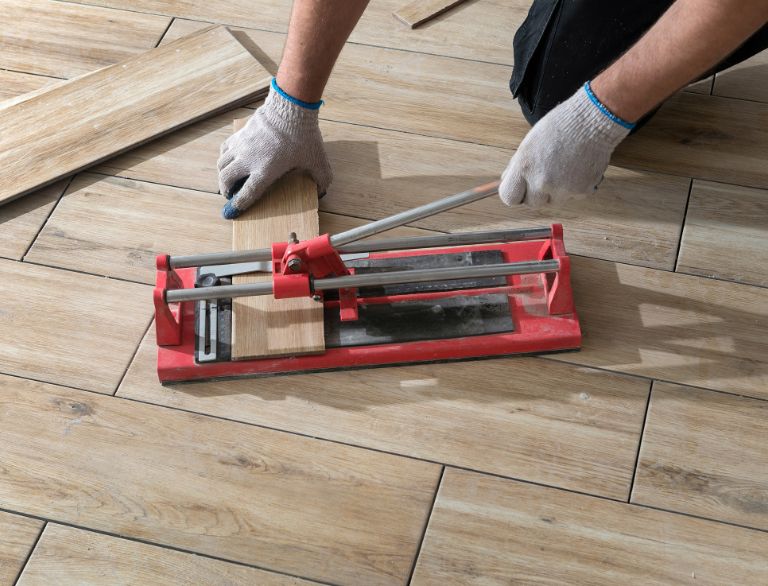
When you reach the top edges or around fittings and faucets, you’ll need to cut tiles. Measure carefully and mark the tile using a pencil. Use a manual tile cutter for straight cuts and a grinder or tile nippers for cutting holes in tricky areas like around pipes or tap fittings.

Always wear safety gear like goggles, gloves, and a dust mask when cutting tiles. Once cut, dry-fit the tile before applying adhesive.

Step 6: Let the Tiles Set

Once all tiles fit perfectly, let them set and cure. Most adhesives need at least 24 hours to dry completely. Avoid walking on the floor or placing any weight or pressure on the tiles while the adhesive is setting. Keep windows open for ventilation if possible.

Manual Tile Cutter

Step 7: Apply the Grout

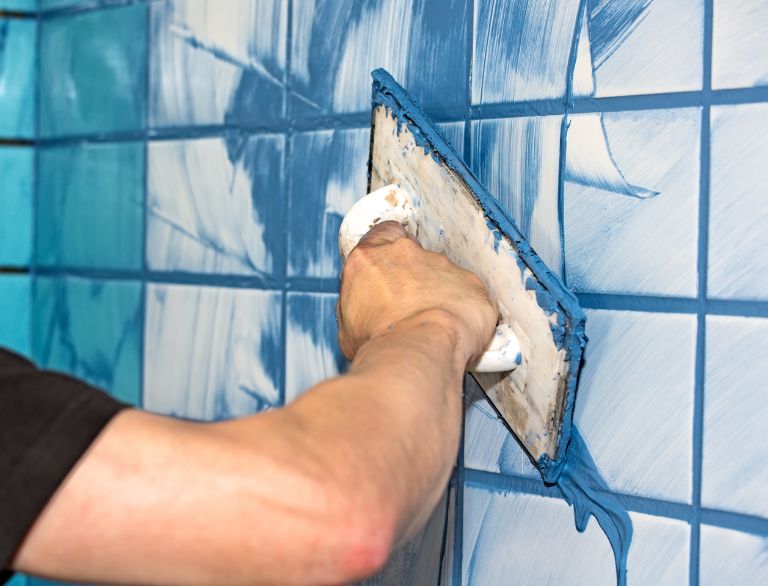
After the adhesive has cured, it’s time to grout. Mix the grout to a smooth, spreadable consistency. Using a rubber float, work the grout into the joints by moving diagonally across the tile lines. Wipe off the excess grout with a damp sponge before it dries on the tile surface.

Allow the grout lines to dry slightly, then go over the tiles again with a clean sponge to remove any haze. Rinse the sponge frequently.

Want a flawless bathroom finish? Check out our blog to learn all about tile grout and how to grout tiles.

Step 8: Seal and Clean Up

Once the grout is fully dry, apply a grout sealer to help protect it from water and stains. This is especially important in bathrooms where moisture is constant. Use a soft cloth to remove any leftover grout haze or streaks.

Seal the edges and corners with a silicone sealant to prevent water from getting into the joints around fixtures, floors, and walls. Give the entire tiled area a final clean, and your bathroom is ready to go.

Applying The Grout

Pro Tips on Bathroom Tiling

Getting tiles down is one thing, getting a clean, professional finish that lasts is another.

These pro tips can help you avoid rookie mistakes, speed up the process, and improve your overall result.

1. Start with a Strong Plan

Never skip your layout planning. Take time to mark centre lines and dry lay a row of tiles before starting. This helps you avoid small cuts at the edges and keeps the pattern looking balanced.

2. Use the Right Tools for the Job

A manual tile cutter is great for straight cuts, but invest in a wet saw or angle grinder for trickier jobs. Always use a notched trowel that matches the size and thickness of your tiles. 

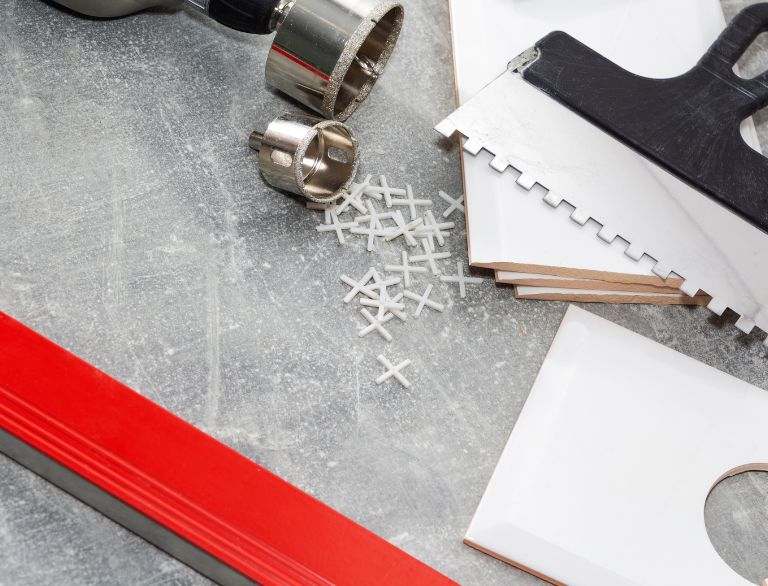
Tools For Tiling

3. Check As You Go

Stop every few rows to double-check your level and spacing. Fixing alignment issues early is much easier than correcting them later.

4. Don’t Rush the Grout

Let the adhesive set fully before you start grouting. Apply grout evenly, and wipe off excess before it dries. For the cleanest look, use a float to press grout deeply into joints.

5. Waterproof Like a Pro

Bathrooms are wet zones, so waterproofing is not optional. Always apply a membrane to shower areas, behind vanities, and on the entire wall if it’s in a wet area.

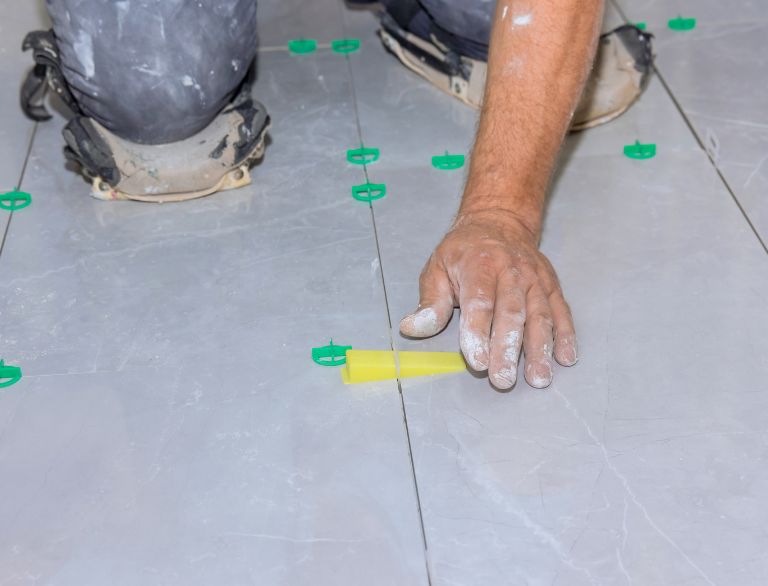
Tiler Tile Levelling

Common Tiling Mistakes to Avoid

Even with good planning, it’s easy to overlook small details that can ruin the finish or reduce the life of your tiles. Here are some often-forgotten mistakes people make when tiling a bathroom:

    • Tiles from different batches can have slight colour or texture differences, so always check batch numbers and mix tiles from multiple boxes to blend them.
    • Surfaces that move, flex, or have water damage underneath will cause tiles to crack or lift over time.
    • Tiles need a small gap around the edges of the room to allow for natural expansion, and skipping this can lead to buckling or cracked grout.
    • Skipping edge trims or transition strips where tiles meet carpet, timber, or other surfaces can look messy and lead to chipping.
    • In showers and wet zones, the floor needs a slight slope toward the drain. Tiling over a flat or incorrect fall causes water pooling.
    • Excess adhesive can squeeze up between tiles and fill the grout space, making it harder to grout properly later.

Should You DIY or Call a Pro?

Tiling might seem like a job you can tackle yourself, and in some cases (and if you have a small bathroom), you definitely can.

But bathrooms are high-risk zones. Behind every clean tile job is a lot of unseen work, and not every tiling job is created equal.

If you’re not sure what’s involved or you just want the job done right the first time, it might be worth calling in a pro. Here’s how to decide:

DIY is a good option if:

    • You’re confident in measuring, cutting, and following the steps involved
    • The area is small and straightforward (like a one tile pattern on a flat wall or small floor)
    • You have the time to do it properly, without rushing
    • You’re tiling over a solid, flat, prepped surface

If you’ve decided to go for DIY bathroom renovations, check out our blog to make sure you don’t miss anything important.

Women Tiling Bathroom

You should call a pro if:

    • The area includes complex corners, drains, or uneven surfaces
    • You’re waterproofing a wet zone (which must meet Australian standards)
    • You’re short on time or want a perfect finish
    • You’re using expensive or large-format tiles and want to avoid waste

Professional Tiler Laying Tiles

Your Dream Bathroom Starts with the Right Tiles

Great tiling starts with great tiles.

We offer a curated collection of bathroom floor and wall tiles handpicked for both style and durability. Whether you’re after a soft neutral look, bold textures, or something timeless, we’ve got options to suit every space.

Explore our collection of bathroom tiles or visit our store in Sydney and get expert guidance from our sales team. They’ll help you choose tiles that match your layout, lighting, and style goals.


How to Tile a Bathroom FAQs

Where do you start tiling in a bathroom?

Start tiling from the centre of the floor and work your way outwards. This gives you a balanced layout and helps avoid small cuts at the edges. On bathroom walls, it’s best to begin from the second row up, then do the first row and bottom row last.

What do you put under bathroom tiles?

Tiles need a clean, flat, and stable surface. Use cement sheeting or a tile underlay on walls, and a self-levelling compound on uneven floors. Always apply a waterproofing membrane in wet areas before tiling.

After laying bathroom tiles, make sure you know how to keep them spotless with our complete guide to cleaning bathroom tiles.

What gap do you leave between tiles?

Most tiles need a 2–3mm gap for grout. If you’re using larger or rectified tiles, the gap can be as small as 1.5mm. Always use tile spacers to keep it consistent and ensure grout lines at per Australian Standard. 

What is the 3 4 5 rule for tiling?

The 3-4-5 rule helps you check that your layout is square. Measure 3 units along one line, 4 on the other, and the diagonal between them should be exactly 5. It’s a quick way to make sure your tiles won’t run crooked.

What is the 1/3 rule for tile?

The 1/3 rule is used when laying rectangular tiles like wood-look tiles. Instead of a 50% brick pattern, which can cause lippage, offset each row by one-third of the tile’s length for a flatter, cleaner finish.

Should the shower tile be horizontal or vertical?

Both work. It depends on the look you’re after. Horizontal tiles make the space feel wider, while vertical tiles draw the eye up and can make the room feel taller. Choose what suits your style and bathroom layout.

Is it easy to tile a bathroom for beginners?

Tiling a bathroom is doable for beginners if the space is simple and you follow each step carefully. It takes time and patience, especially with cutting and waterproofing. Start small if it’s your first time.

How much to tile a bathroom in Australia?

Tiling a bathroom in Australia typically costs $2,000 to $5,000, depending on size, tile choice, and job complexity. This includes materials and labour, with tilers charging approximately $50–$100 per square metre. Extra costs may apply for waterproofing, wall repairs, or tile removal.

Wondering how much a bathroom renovation costs? Check out our blog post for a full breakdown of costs.

Can you lay tile and grout on the same day?

It’s not recommended. The tile adhesive needs time to set for about a few hours (ideally 24 hours). Grouting too early can move the tiles or cause problems later, so it’s best to wait.