Feeling overwhelmed by all the tile sizes out there? You’re not alone! It’s one of the most common challenges we hear from customers. Choosing the right tile size can make or break your space, whether it’s a small bathroom or a large open-plan living area. The wrong size can affect the look, feel and even function of a room.
But don’t worry, we’re here to help. In this guide, we’ll explain everything you need to know about tile sizes in Australia. From standard measurements to room-by-room tips, you’ll find all the info you need to plan with confidence.
Want to avoid common mistakes and get the best results for your space? Keep reading to learn how to choose the right tiles for any project.
What are the Standard Tile Sizes in Australia
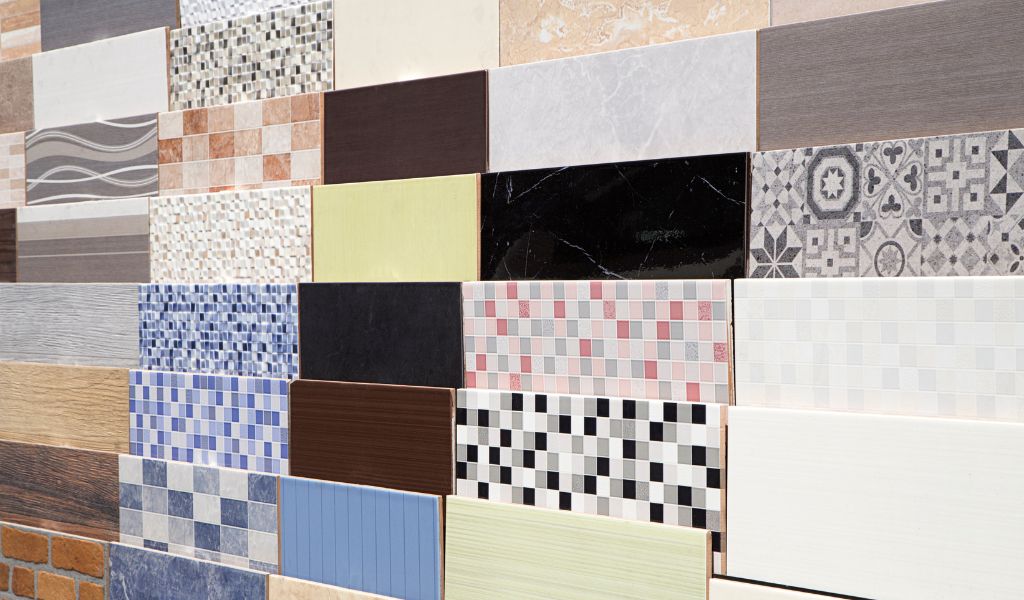
Tiles come in many shapes and sizes, but some dimensions are more common across Australian homes and projects. Knowing these standard tile sizes helps you compare options, plan your layout, and order the right quantity without surprises.
Below is a quick overview of common standard tile sizes (in mm) grouped by type:
| Subway Tiles |
Small Tiles |
Medium Tiles |
Large Format Tiles |
Slabs |
| 75 x 150 |
120 x 120 |
300 x 600 |
200 x 1200 |
800 x 2400 |
| 60 x 240 |
200 x 200 |
300 x 700 |
600 x 1200 |
1200 x 2400 |
| 75 x 300 |
300 x 300 |
400 x 400 |
800 x 800 |
1200 x 2700 |
| 100 x 300 |
|
450 x 450 |
1000 x 1000 |
1500 x 2600 |
|
|
450 x 900 |
1200 x 1200 |
1000 x 3000 |
|
|
500 x 500 |
|
1200 x 2800 |
|
|
600 x 600 |
|
|
Common Floor Tile Sizes
1. Small (up to 300x300mm)
Great for tight or sloped areas like bathrooms, laundries, and shower floors. They’re easier to lay in spaces with floor falls and offer better slip resistance due to more grout lines.
Best for: Shower bases, laundry floors, small powder rooms.
2. Medium (300x600mm to 600x600mm)
A go-to size for most Australian homes. These tiles strike the perfect balance between ease of installation, visual impact, and maintenance.
Best for: Kitchens, hallways, bathrooms, and main floors.
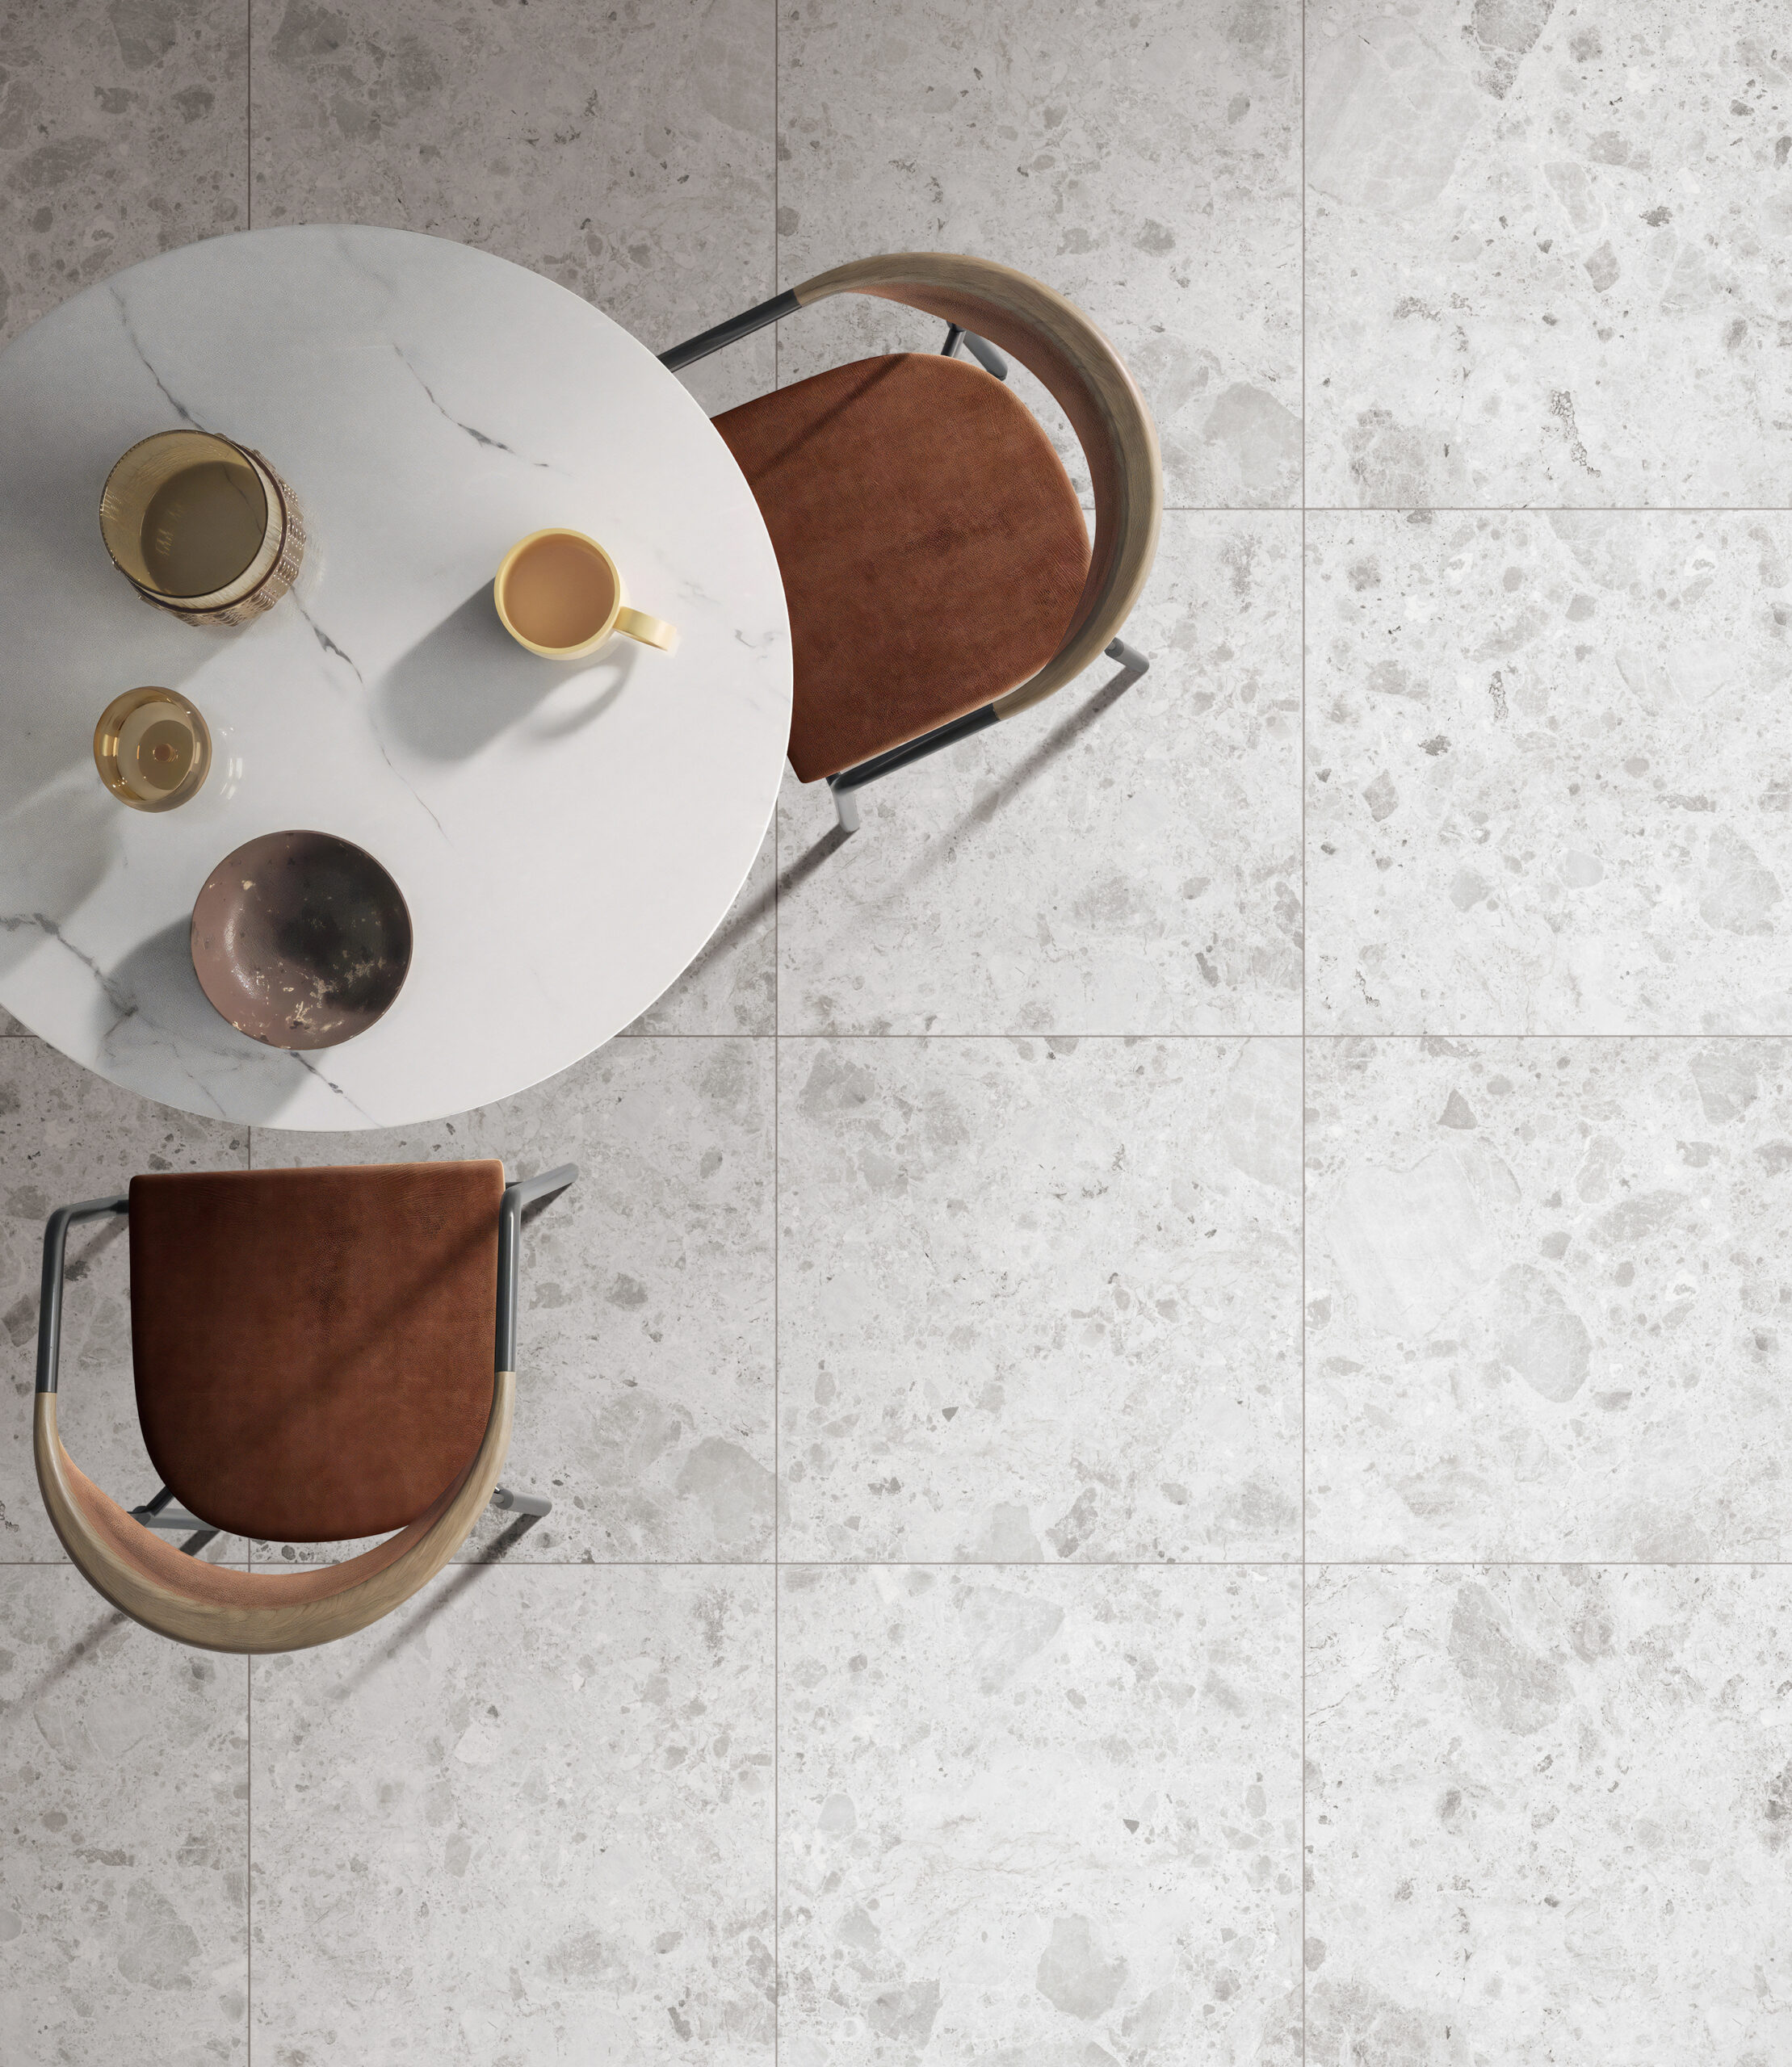
3. Large (over 600x600mm)
Perfect for creating a spacious, seamless look in open-plan areas. Large tiles reduce grout lines, which means less cleaning and a more modern feel.
Best for: Living rooms, dining areas, large entryways, and large-format homes.
Common Wall Tile Sizes
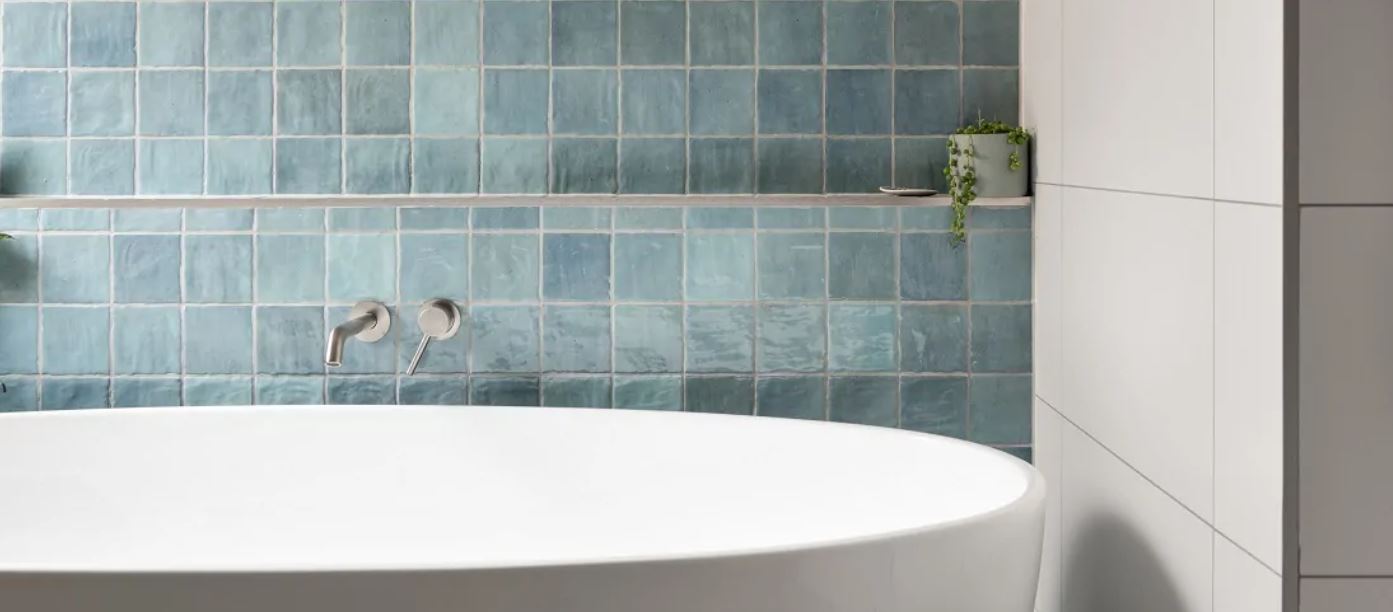
1. Small (up to 150x300mm)
Best for splashbacks or detailed areas. This includes popular subway tiles and smaller feature tiles that suit creative layouts like herringbone or vertical stack.
Best for: Kitchen splashbacks, vanity walls, decorative panels.
2. Medium (300x600mm to 600x600mm)
Ideal for most kitchen and bathroom walls. These sizes give you flexibility with layout while keeping a tidy, modern look.
Best for: Full bathroom walls, kitchen walls, laundries.
3. Large (over 600x600mm)
These make a bold statement on feature walls or in large bathrooms. They reduce grout lines and help create a sleek, minimalist style.
Best for: Feature walls, wet areas, large bathrooms.
💡 Pro Tip: Tile sizes can vary slightly between manufacturers, so always check the exact dimensions, especially if you’re mixing sizes or matching existing tiles.
Tile Thickness: Why it Matters When Choosing Tile Sizes
When picking tile sizes, it’s easy to overlook thickness, but it matters more than you think. The thickness of a tile can affect your floor height, door clearance, adhesive needs and overall finish. If you’re layering over old tiles or matching existing flooring, getting this right will save you from uneven transitions and sticky doors.
Different tile sizes often come with different thicknesses. For example:
- Wall tiles are usually thinner (6–10mm) to keep them light and easier to install vertically.
- Floor tiles are thicker (8–12mm) to handle foot traffic and support weight.
- Outdoor tiles can go up to 20mm for durability and weather resistance.
- Slabs might be thinner (around 6mm) so they stay light enough for vertical surfaces.
💡 Pro Tip: If you’re tiling over old tiles, always measure the total tile build-up, including adhesive. It helps avoid tripping hazards and stuck doors.
Recommended Tile Sizes by Room
The right tile size can completely change how a room looks and feels. Some spaces need more grip, others benefit from fewer grout lines, and some just need to feel bigger or easier to clean.
Use this room-by-room guide to help you choose the right tile size based on layout, function and style.
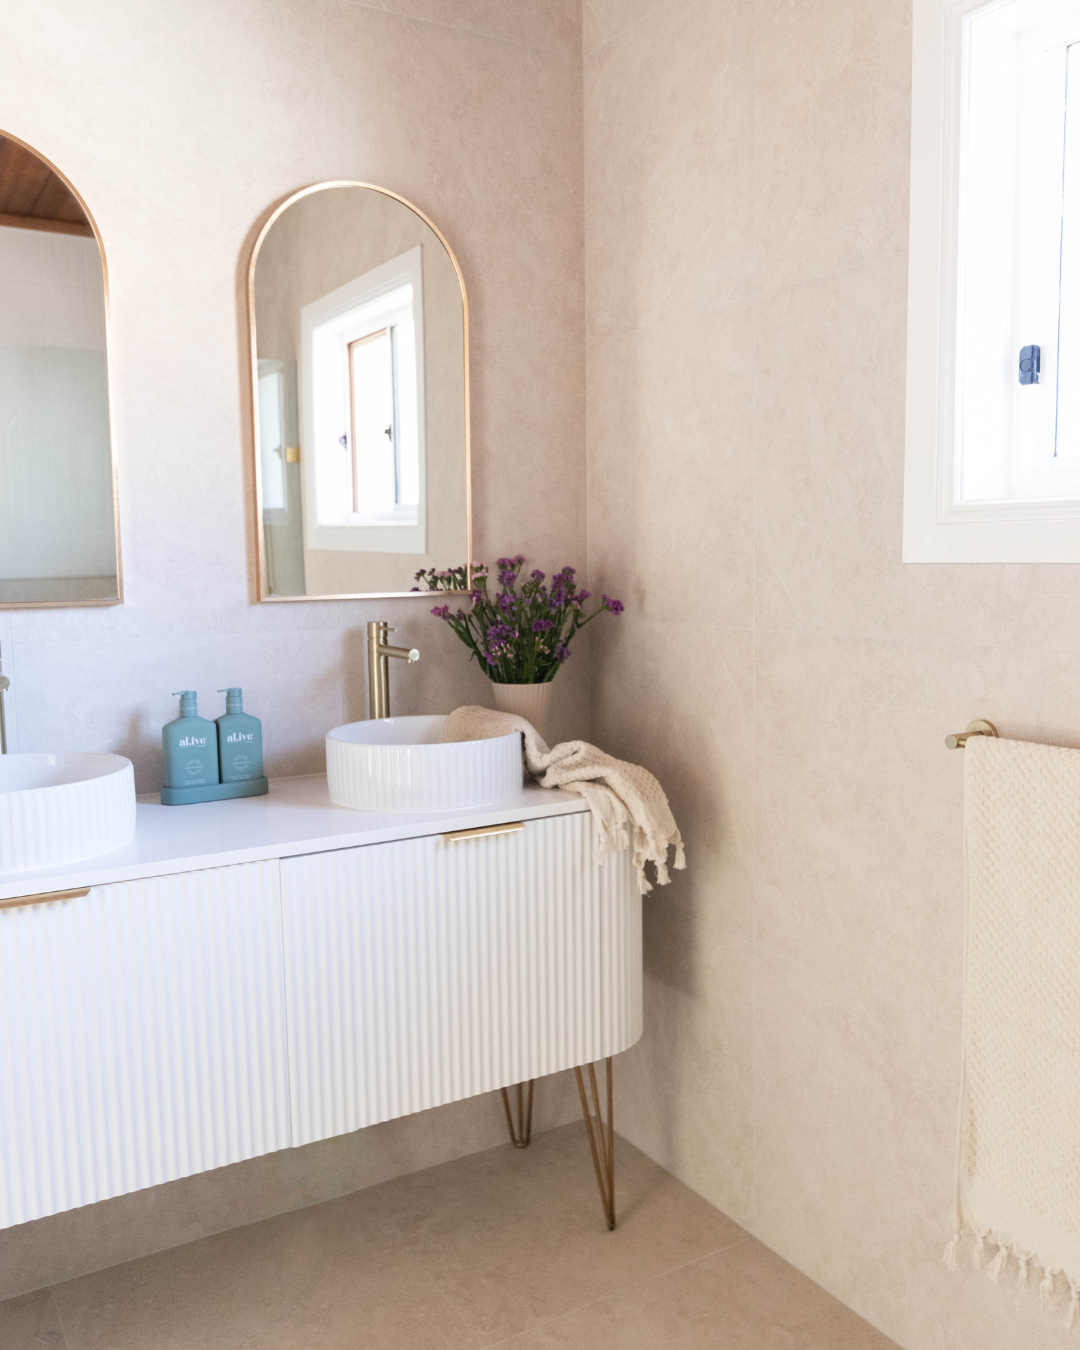
1. Bathroom
Walls
Subway tiles like 75x150mm or 100x300mm work well for splash zones, vanities, or full-height walls. They’re great for classic or modern bathrooms.
If you want fewer grout lines, go bigger with 300x600mm or 600x600mm tiles. These help the space feel more open and are easier to keep clean.
Floors
In the shower, small tiles like 300x300mm work best. They handle slopes better and help with grip. For the rest of the bathroom floor, medium tiles like 450x450mm or 600x600mm give a smooth, easy-to-clean surface. Also, make sure your tiles have a P3 or R10 slip rating to stay safe in wet areas.
2. Kitchen
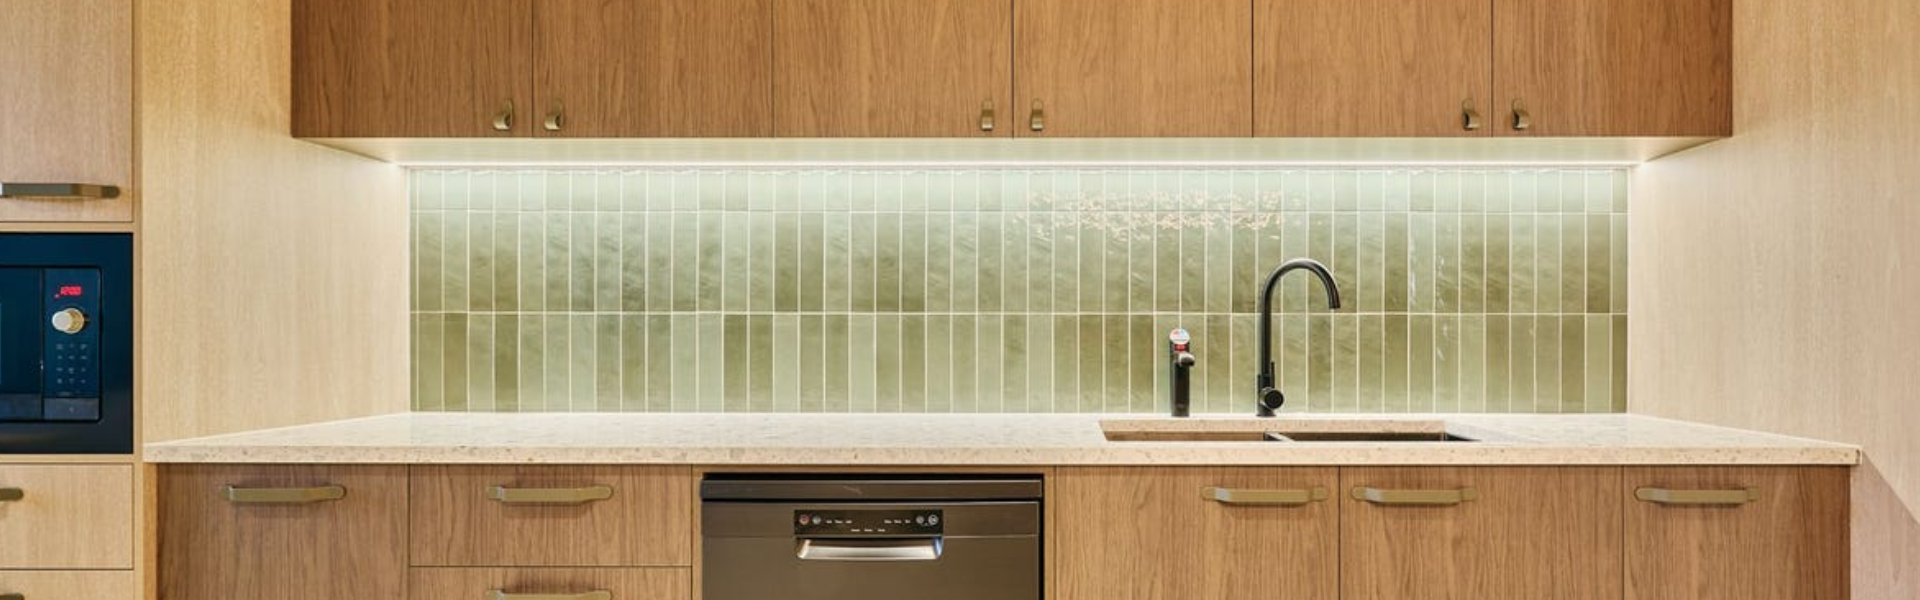
Walls
Stick with small to medium sizes for splashbacks. Try 75x150mm, 100x300mm or mosaics. These are easier to fit around power points, cupboards and appliances, which makes them a popular choice for kitchen walls.
Floors
Medium to large tiles (450x450mm, 600x600mm, or 600x1200mm) are ideal for kitchens. They handle foot traffic well, are easy to mop, and create a seamless feel between cooking and dining zones.
3. Living/Dining Room
Walls
If you’re adding a feature wall, consider larger tiles like 600x600mm or long decorative panels. They add visual interest without overwhelming the space and are easier to install on wide, flat walls.
Floors
Go for large format tiles like 600x600mm, 800x800mm or 600x1200mm. They make the room feel spacious and reduce grout lines. Perfect for open-plan living.
4. Outdoor Areas
Walls
For outdoor walls, use 200x600mm, 300x600mm or 300x800mm tiles. Choose textured or stone-look tiles rated for exterior use to handle sun, rain, and temperature changes without fading or cracking.
Floors
Pick tiles that are slip-resistant and made for outdoor use. Go for 600x600mm, 600x900mm or 800x800mm for patios and paths. Around pools or sloped areas, smaller tiles or mosaics are safer and easier to shape.
💡 Pro Tip: Always check for a P4 or R11 slip rating to keep things safe underfoot.
How to Choose the Right Tile Size

Choosing the right tile size can completely change the feel of your space. It’s not just about style; it also affects cleaning, cost, and how the room flows. Let’s break down the key things to consider.
1. Room Size and Layout
Start by thinking about the size of the room. Large tiles can make small spaces feel bigger because there are fewer grout lines breaking up the floor or wall. But in tighter areas or rooms with lots of corners, smaller tiles can be easier to lay and work around obstacles.
2. Lighting and colour
Next, take a look at your lighting. If the room is dark or doesn’t get much natural light, large, light-coloured tiles can help brighten it up. In well-lit spaces, you’ve got more freedom to use darker or textured tiles to add interest without making the room feel smaller.
3. Grout Lines and Maintenance
Fewer grout lines usually mean less cleaning. Larger tiles need less grout, which gives a neater, smoother look. Smaller tiles have more joints, so they’ll need more upkeep, especially in wet or busy areas.
4. Slip Resistance and Safety
For wet areas like bathrooms, laundries, or outdoor spaces, safety comes first. Smaller tiles or textured surfaces offer better grip underfoot, especially on sloped floors. Make sure to check the tile’s slip rating so you’re confident it’s safe for the area.
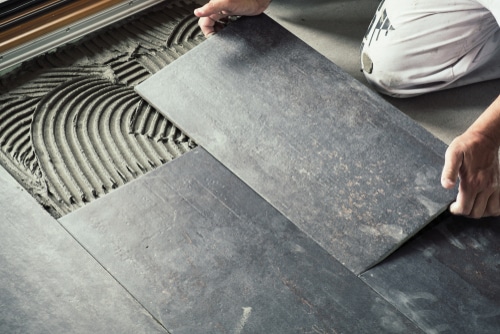
5. Installation Complexity
If you’re doing it yourself, go for a tile that’s easy to handle. Medium sizes like 300x300mm or 300x600mm are ideal for DIY. Large format tiles need a flat surface and can be tricky to lay, so you might need a pro for those.
6. Budget & Waste
Tile size affects cost in more ways than one. Larger tiles may cost more per tile, but you’ll need fewer of them and use less grout. Smaller tiles are cheaper upfront, but you might need more cuts and extra labour, which can add up.
Practical Tips for Choosing Tile Sizes
Making the right choice on tile size isn’t always easy, especially with so many options out there. These simple, hands-on tips will help you visualise your tiles properly, avoid common mistakes, and feel confident about your selection.
1. Order Full-Size Samples
Always get a full-size sample instead of relying on photos or small swatches. Seeing the tile in person helps you check the colour, texture, and thickness properly. It also lets you see how it works with your lighting and finishes at home.
2. Visualise in Your Space
Once your sample arrives, place it on the floor or hold it up to the wall where you plan to tile. Move around the room and look at it from different angles and under different lighting. This step gives you a better idea of how the tile will work with your existing décor and the room’s overall feel.
3. Use Digital Layout Tools
If you’re not sure how a tile size or layout will look, try using a digital tile visualiser. Many tile retailers offer free online tools where you can upload a photo of your space or select from templates. You can then test different tile sizes, colours, and laying patterns to see what fits your vision.
4. Get Expert Advice
Even if you’re planning to DIY, it’s worth speaking to someone with experience. A professional tiler or tile shop consultant can suggest the best sizes for your room shape, lighting, and floor levels. They can also flag any tricky installation issues like tile thickness or cutting challenges.
5. Factor in Cutting/Waste
Tiles often need to be cut to fit edges, corners or unusual angles. Because of this, always order a little more than you think you’ll need. A good rule of thumb is to add 10% for basic layouts, or up to 15% if you’re using a complex pattern like herringbone or diagonal.
How to Measure for Tiling

Getting your measurements right is one of the most important parts of any tiling project. It helps you avoid running out of tiles, wasting money, or making last-minute trips to the tile shop. With just a few simple steps, you can measure with confidence and plan like a pro.
Step 1: Measure the Area
Start by measuring the length and width of the space you want to tile using a tape measure. Multiply these two numbers to get the total square metres. For example, a room that is 3 metres wide and 4 metres long will need tiles for 12 square metres.
Step 2: Exclude Any Gaps
If there are any large fixed items like a bathtub, vanity, or built-in cabinets that won’t be tiled behind or under, measure those and subtract their area. This gives you a more accurate idea of how many tiles you actually need.
Step 3: Add Extra for Waste
Tiles often need to be cut to fit edges or corners, and mistakes can happen. To be safe, add an extra 10% to your total for simple layouts, or 15% if your space has tricky cuts, patterns, or lots of corners.
Step 4: Double-Check Before You Buy
Measure everything again to make sure your numbers are right. It’s a small step that can prevent big issues. If you’re unsure, bring your measurements to your tile shop or tiler and ask them to help double-check your totals.
Need Help Choosing the Right Tile Size?
If you’re unsure which tile size suits your space, TFO is here to help. Our expert team offers free consultations to guide you through the best size options for your room, style and budget. With access to over 150 global manufacturers, no matter what size you’re after, we’ll help you find it. From tiny mosaics to massive slabs, we’ve got options to suit every style and budget.
Whether you’re renovating a bathroom or tiling a commercial space, we’ll help you find the perfect fit without the guesswork.
Drop into our Sydney showroom or browse our full tile range online to get started!
Tile Sizes FAQs
What is the easiest size tile to install?
Medium-sized tiles like 300×300 mm or 300×600 mm are easiest to install. They’re big enough to cover space quickly but small enough to handle easily. This makes them ideal for neat results with minimal cuts and grout lines.
How do I know my tile size?
You can measure the length and width of a tile in millimetres using a tape measure. Most tile boxes also list the size on the label. Knowing the size helps with planning your layout and calculating how many tiles you need.
What is the most common wall tile size?
300×600 mm is one of the most common wall tile sizes in Australian homes. It offers a sleek look, fewer grout lines, and is easy to install, making it perfect for bathrooms and kitchens.
What bathroom tile sizes are available to purchase?
Popular bathroom tiles range from 100×300 mm (subways) to 600×600 mm. For walls, 300×600 mm is a top choice, while 300×300 mm works well on floors due to its fit for sloped drainage.
What size are standard tiles in CM?
Common standard tile sizes include 30×30 cm, 30×60 cm, and 60×60 cm. These suit most spaces and are widely available in Australia.
What is the most popular tile size sold?
The 600×600 mm tile is the most popular size for floors in Australia. It offers a modern look with fewer grout lines and suits most rooms. The 300×600 mm tile is also a top pick, especially for walls.
What is the smallest size tile you can buy?
The smallest tiles are mosaics, starting at around 10×10 mm. They’re often mesh-backed and great for shower floors or decorative details.
 Shop by Type
 Shop By Style
 Shop By Room
 Shop By Colour
 Bathroomware
 Adhesives & Accessories